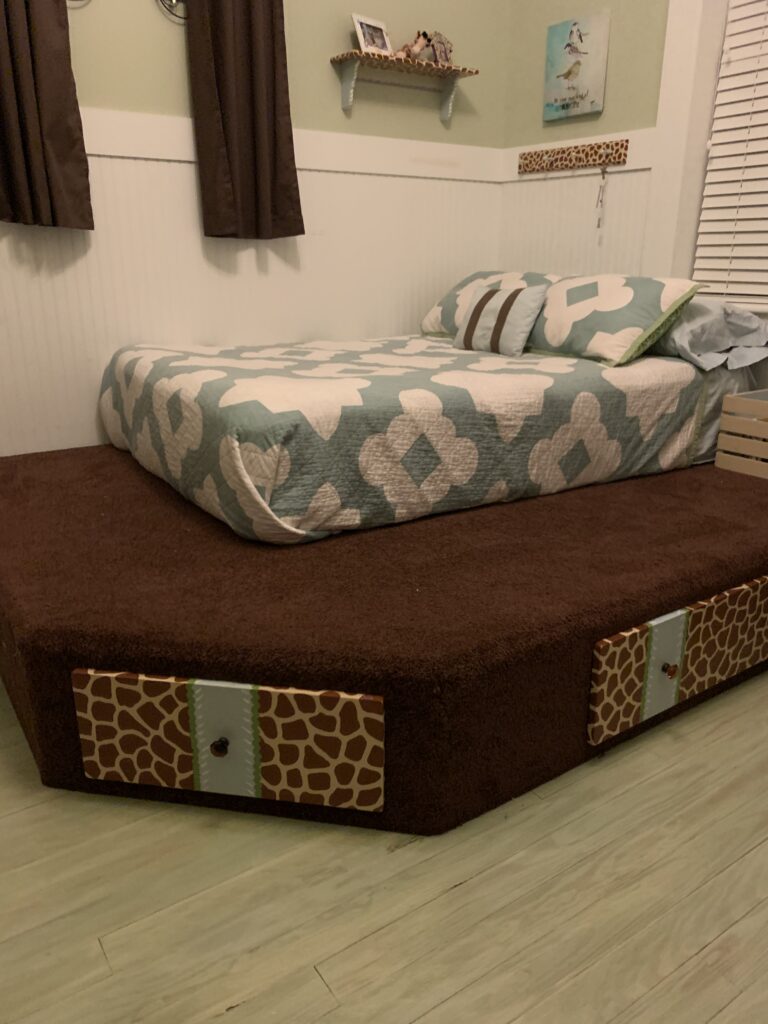
It was inevitable…at some point every girl imagines a new room for her teenage years. A room much hipper and cooler than the cute, childish room you created when she was a toddler.
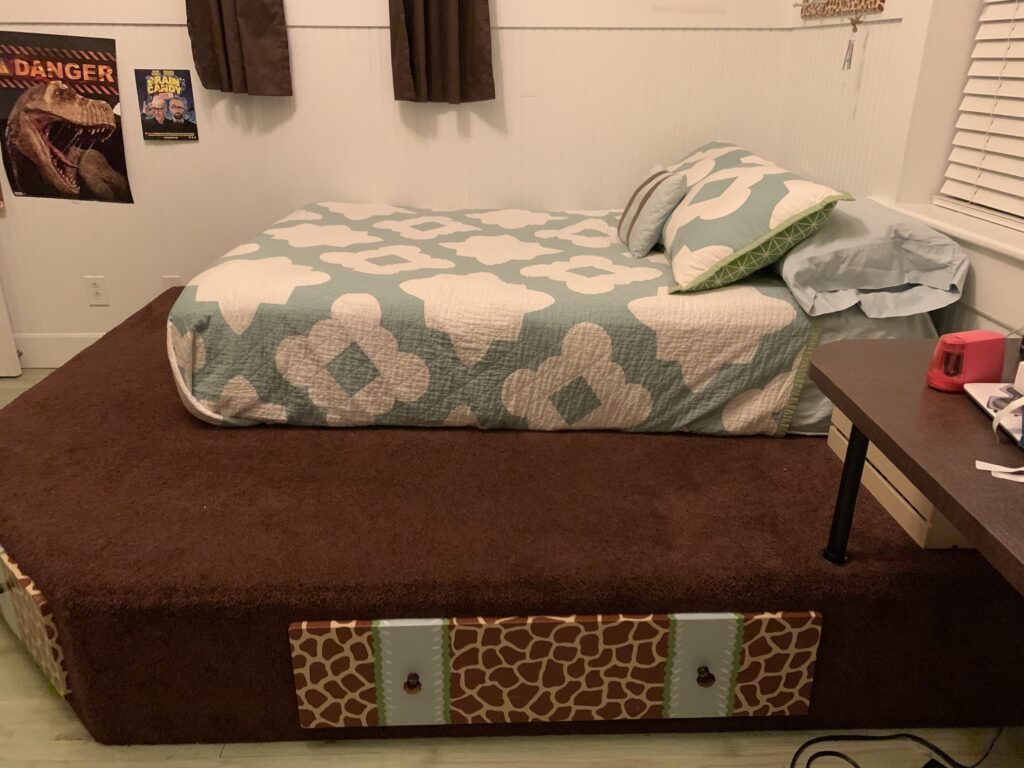
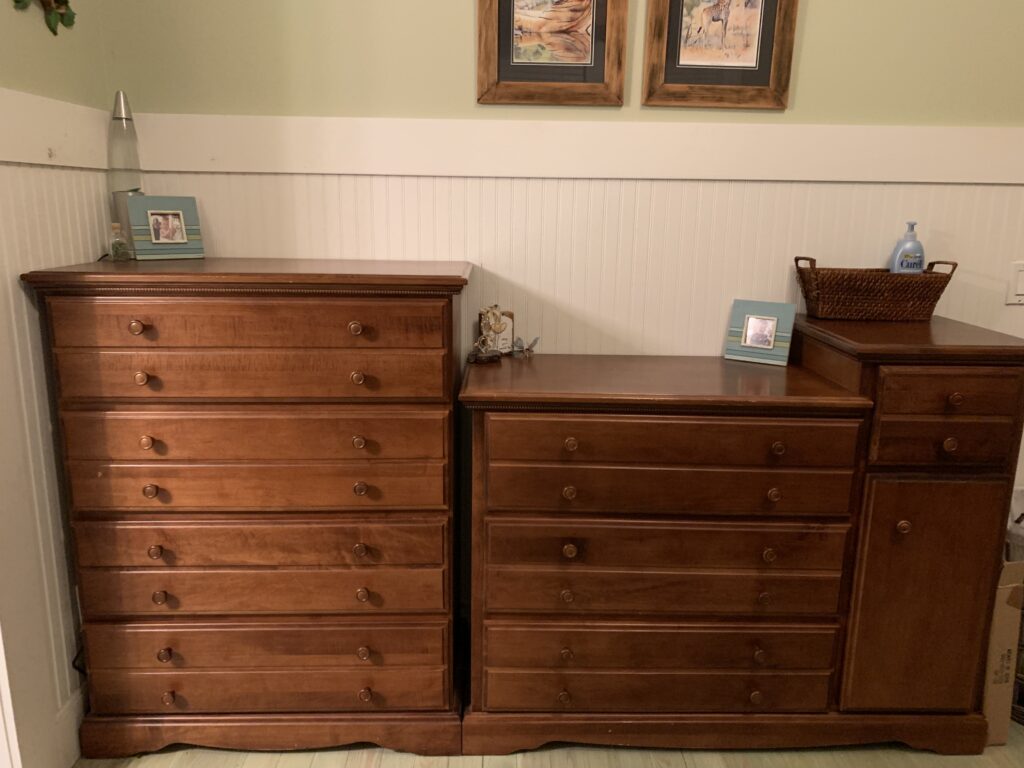
For Payton, that childish room hosted a giraffe theme, adapted from the nursery bedding we chose when her older brother was on the way in 2004. When it was time to ditch the crib, we had my uncle build a custom platform bed with a nice carpet area where we could curl up with a book (and usually the dog) at story time each night. I had painted the drawers in the bed with the same giraffe print I had used on other accessories for the nursery in 2004. It was tedious task, hand-painting giraffe spots, but it was an act of love. But fast-forward about 10 years and Payton was over it, and I was tired of the big bulky carpeted platform that took up half the room.
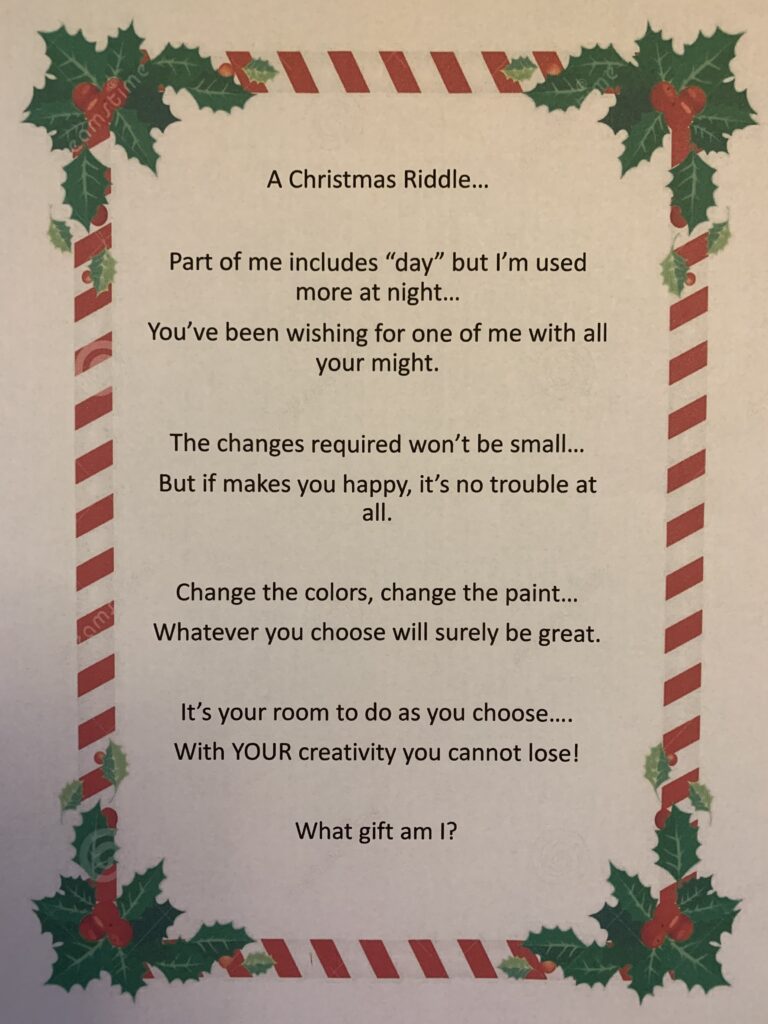
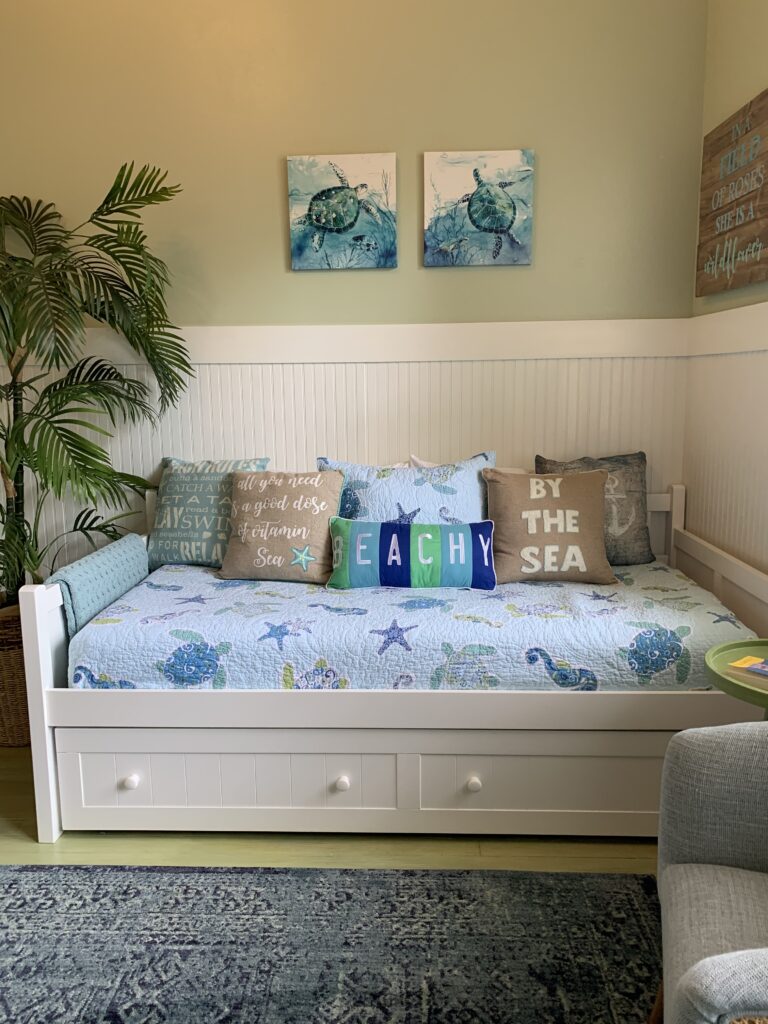
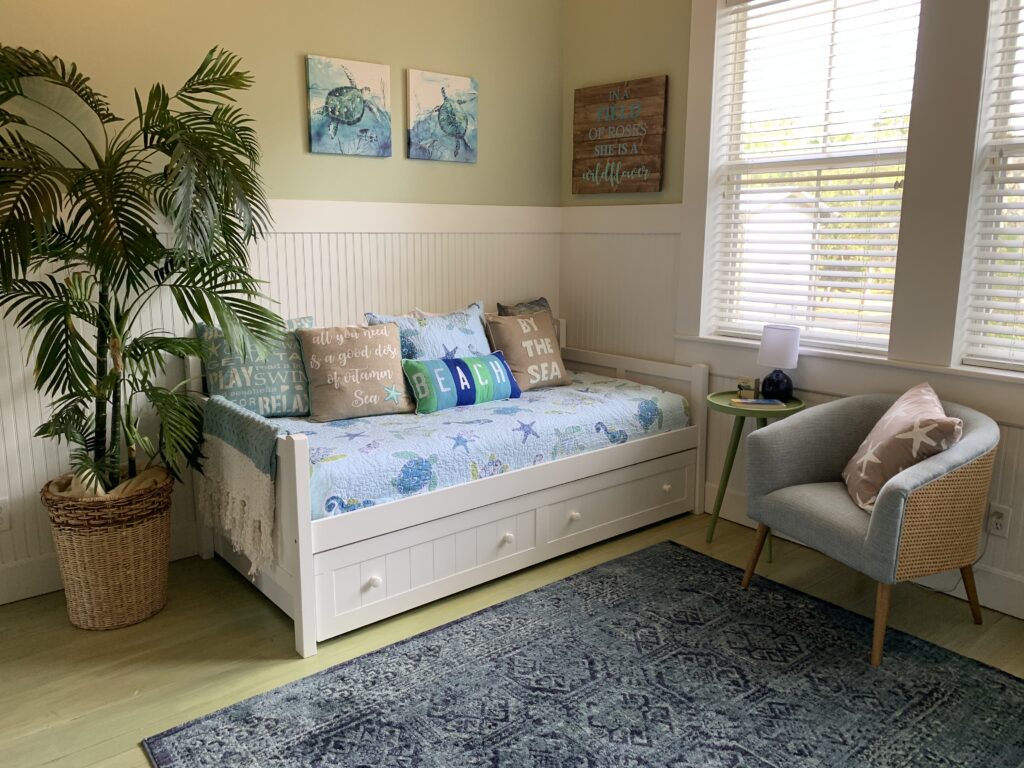
About a year ago, Payton began asking for a daybed. I’m not sure what the infatuation with a daybed was about, but that was all she wanted. So for Christmas I wrapped this up as her big gift. And so began the redo…
It turns out choosing the daybed was the easy part. Within a few days we had searched Wayfair to find a high-quality version with a trundle for her friends or cousin to use for sleepovers. The bed was delivered in a week (we definitely weren’t ready.) The hard part was dismantling the custom platform bed and getting that out of the room. It was a well built, beastly thing, that weighed a few hundred pounds and would have lasted her a lifetime if she had been so inclined. I finally gave it away on a Facebook garage sale site, and the family who took it hauled it off in pieces…ironically, for a teenage girl’s room (face palm).
The Before Pictures
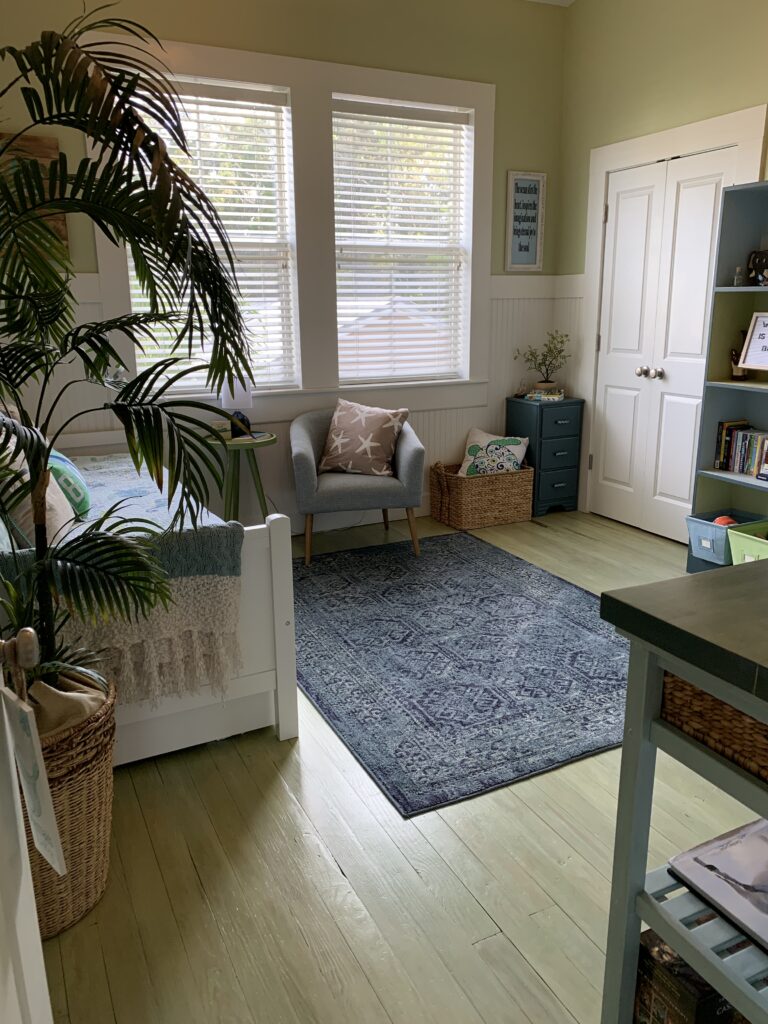
To be clear: Most of what we used in the redo was new, not salvaged. But we completely changed the look without changing the sage green wall and floor color, or the white bead board wainscoting, and we reused a silk plant, some misc. accessories, and several small furniture pieces we already had around the house, including:
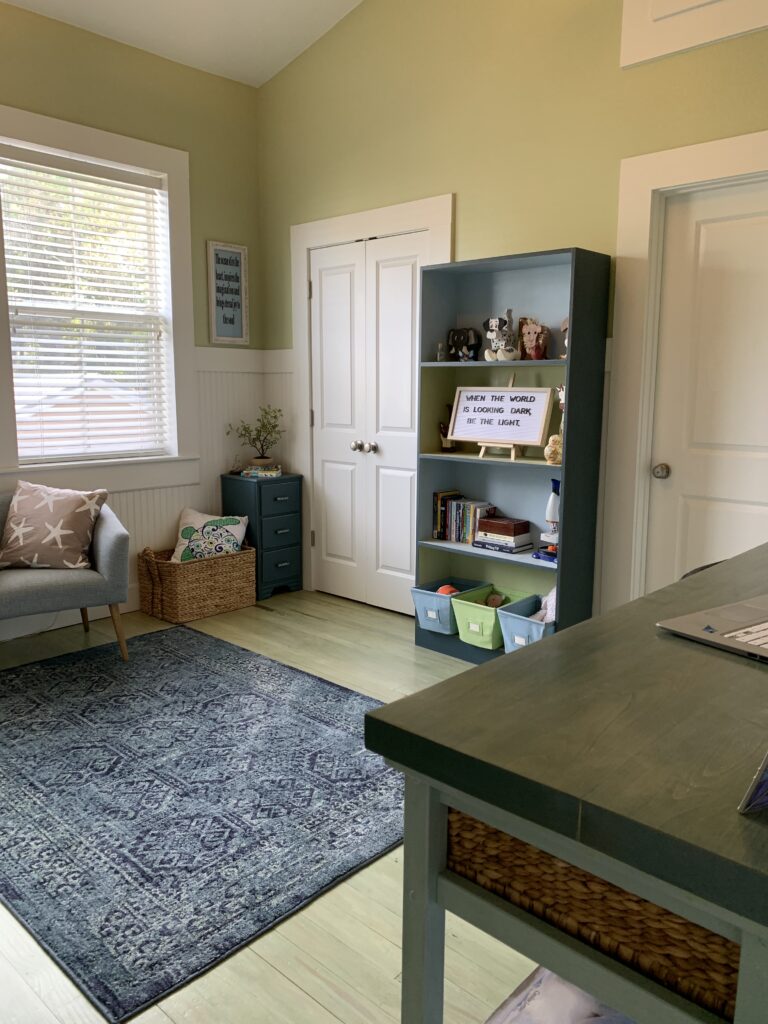
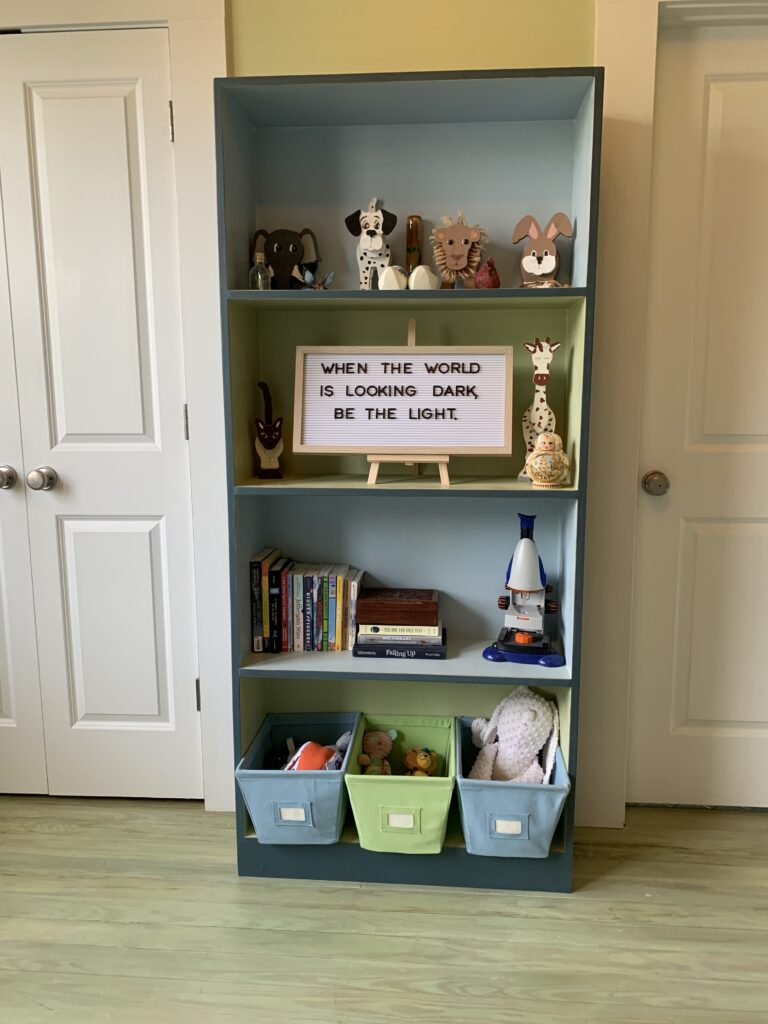
Wood bookcase: I sanded off the giraffe spots, painted the outside Pigeon Blue (Farmhouse Paint), and aged it with some sandpaper and a rubdown with brown stain. Otherwise it’s exactly the same and in the same spot as before, between the bathroom and closet doors.
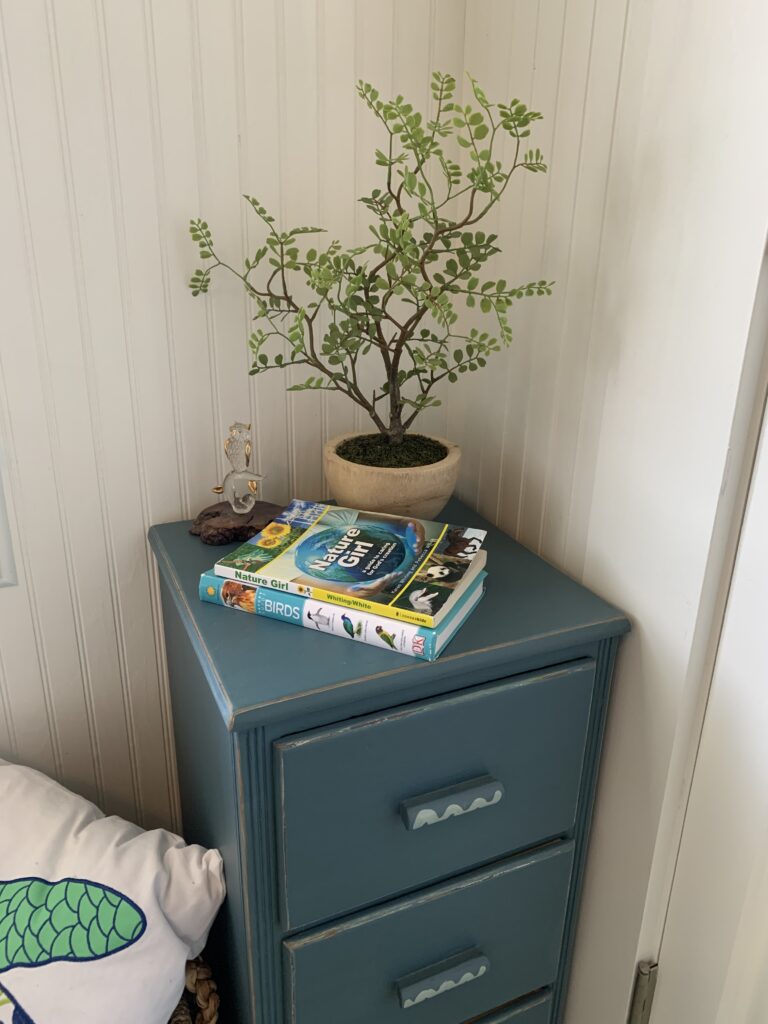
3-Drawer chest/side-table: This little cutie is on at least it’s fourth life, probably because it’s small enough to go almost anywhere. Before the room redo it was used to support an end of Payton’s desk. I sanded off the giraffe spots and finished it with the same Pigeon Blue treatment as I used on the bookcase.
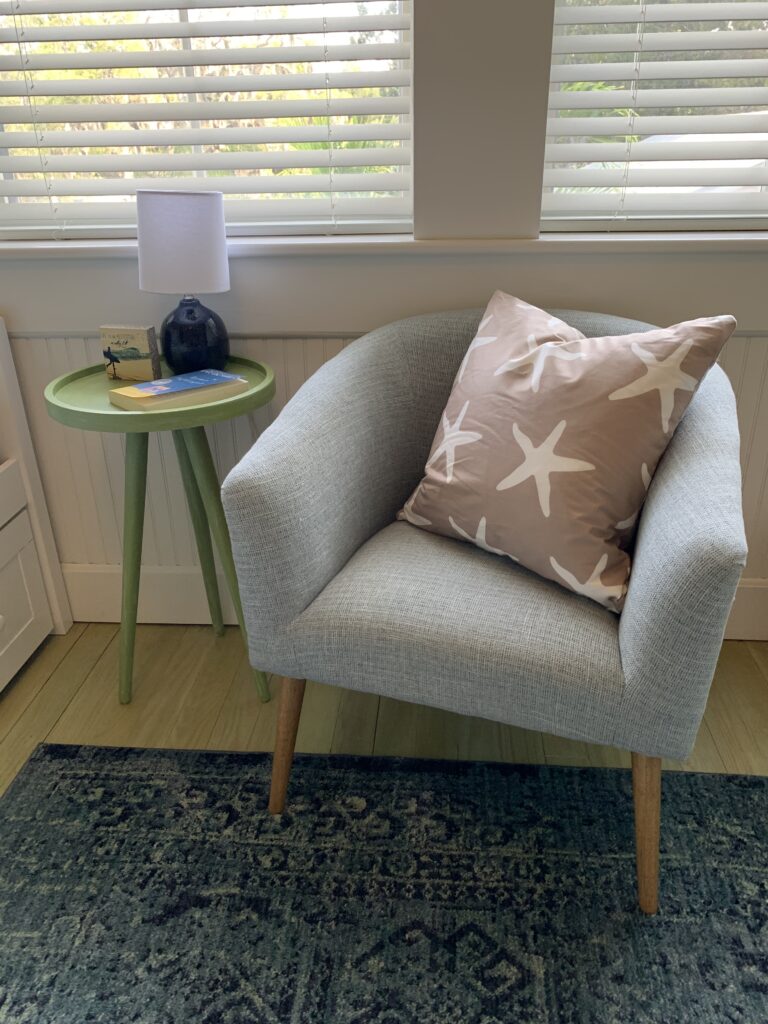
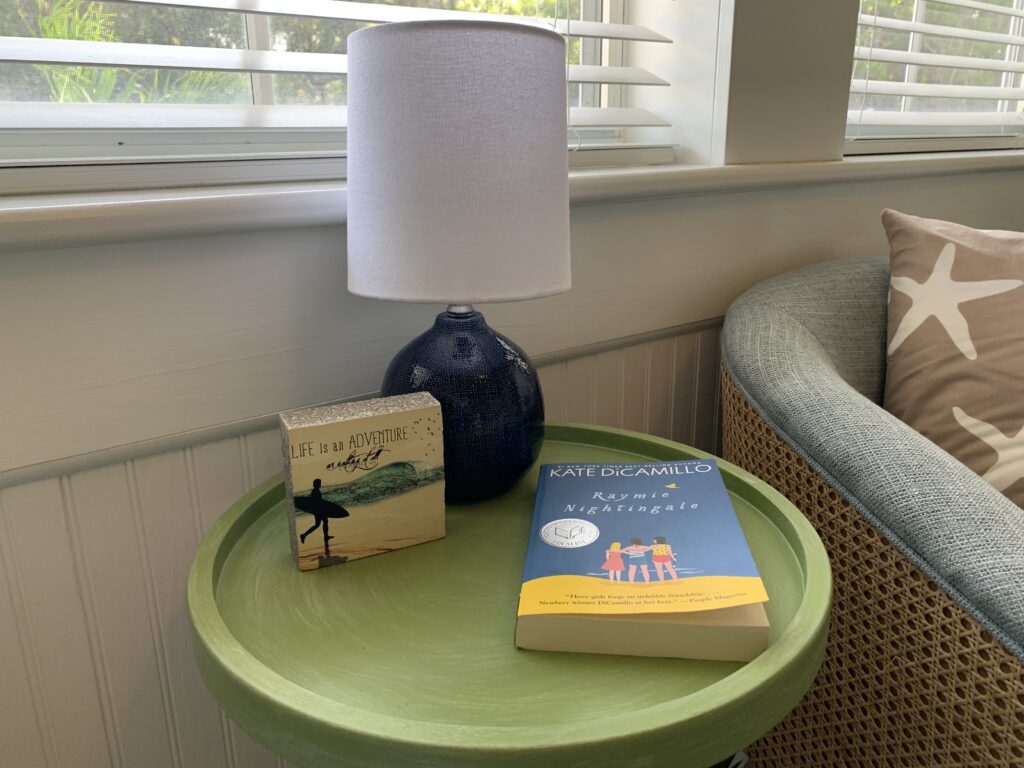
3-Legged side table: Previously weathered gray, I had been using this little gem in our bedroom, but it never really matched. So I primed it, painted it bright green with some old paint from the garage, and aged it with some Rethunk Junk glaze tinted white. Now it’s perfect next to the trundle bed because it’s easy to move when we pull out the trundle, and the legs go well with the side chair I found at Home Goods.
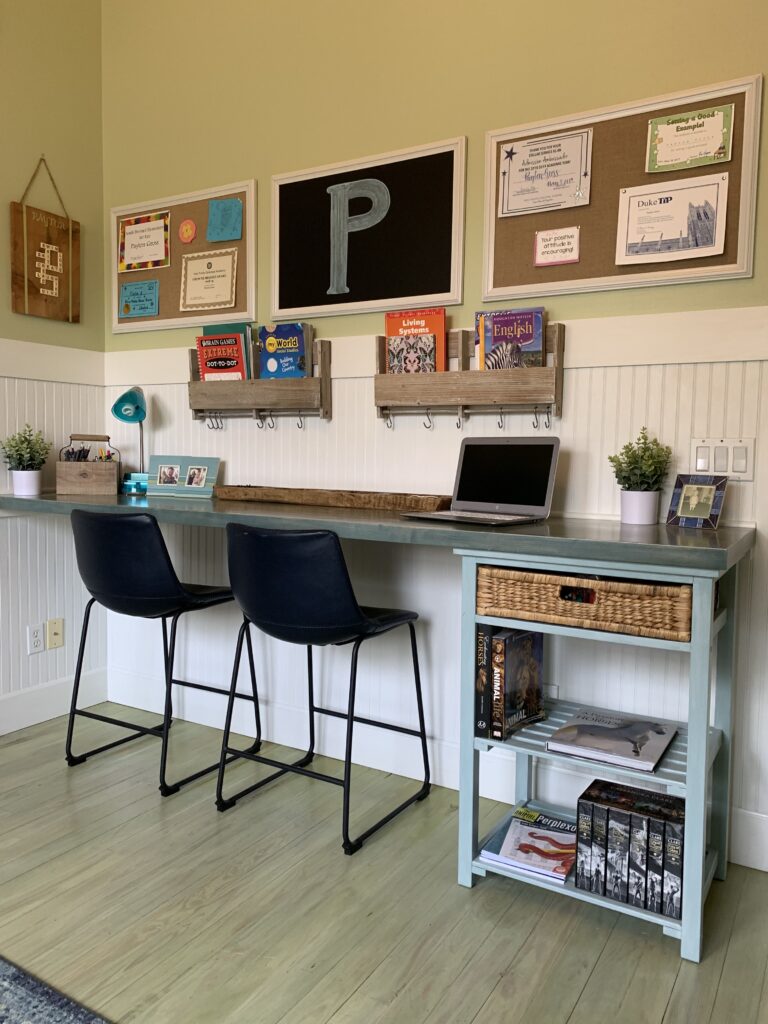
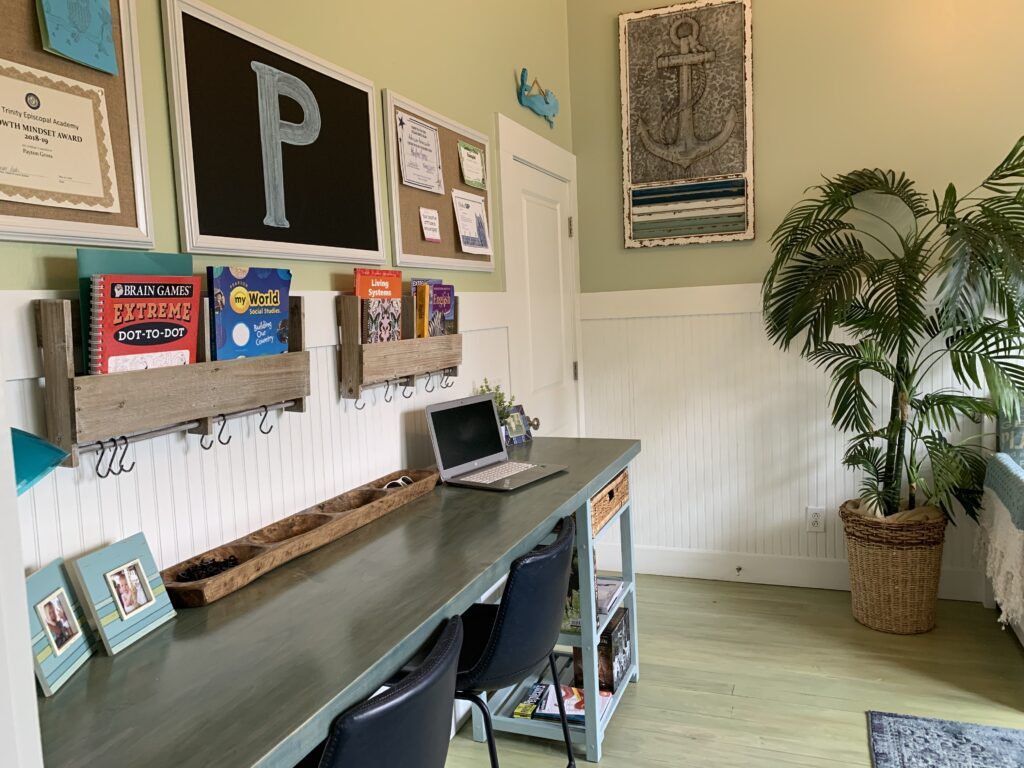
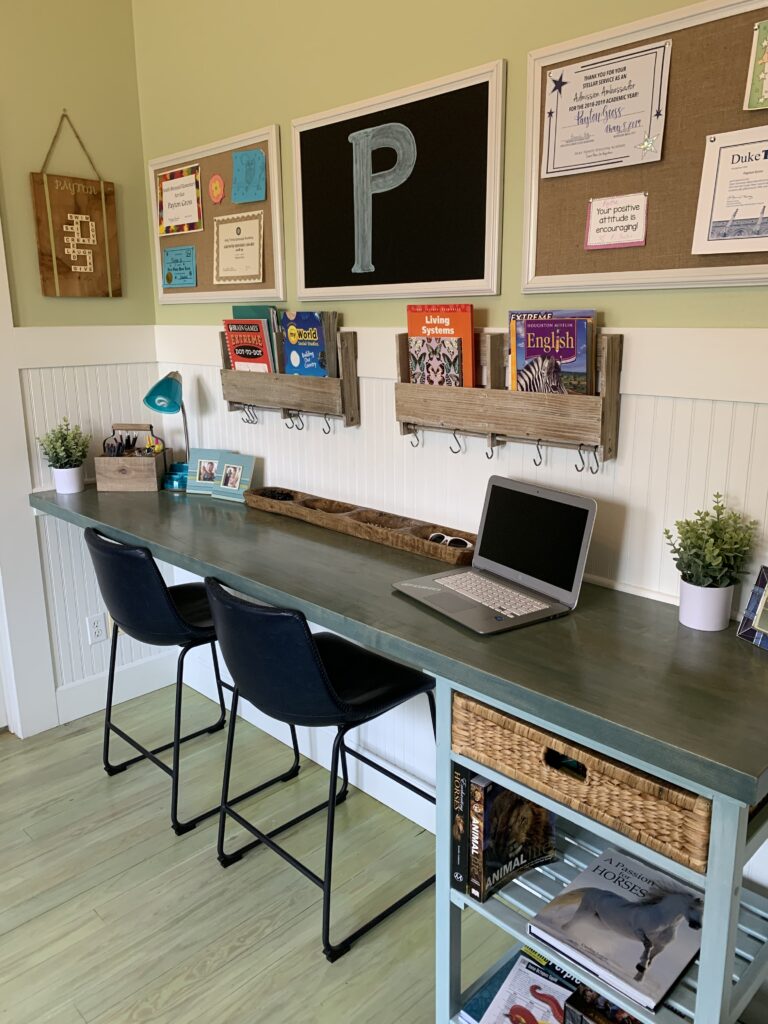
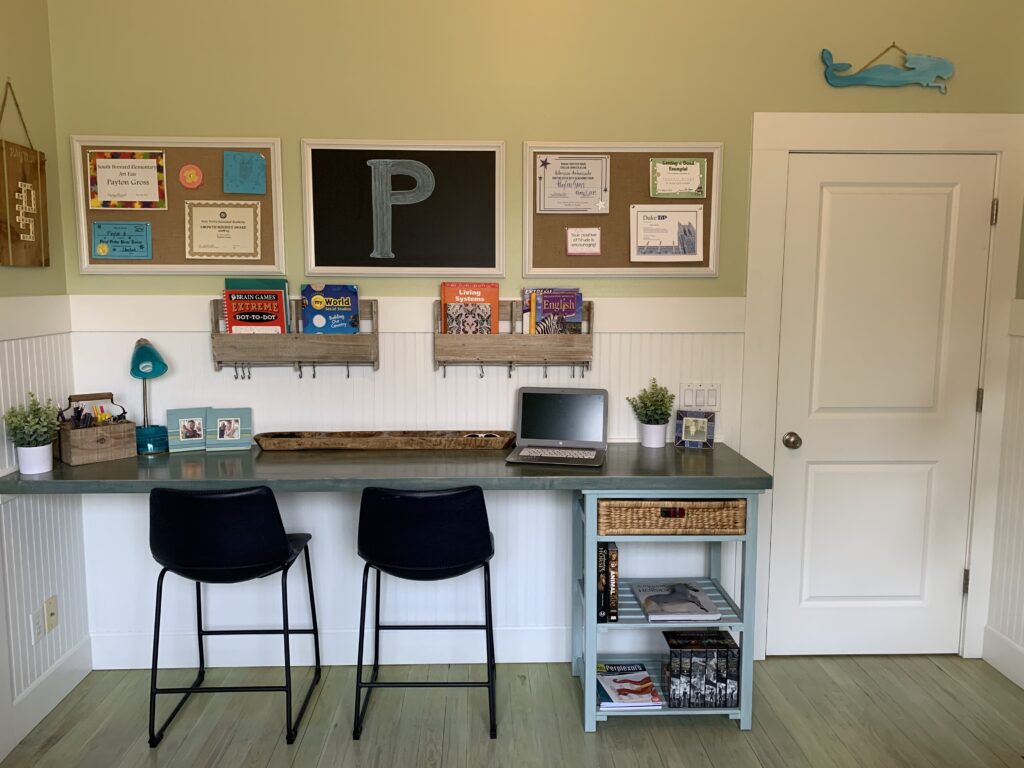
Re-purposed kitchen cart: This, too, has had many lives…most recently it was a bedside table in a guest room. But since it was the perfect size and height to support the new desk, and had a cute wicker drawer for storage, we painted it French Blue (Farmhouse Paint), and aged it with the white glaze.
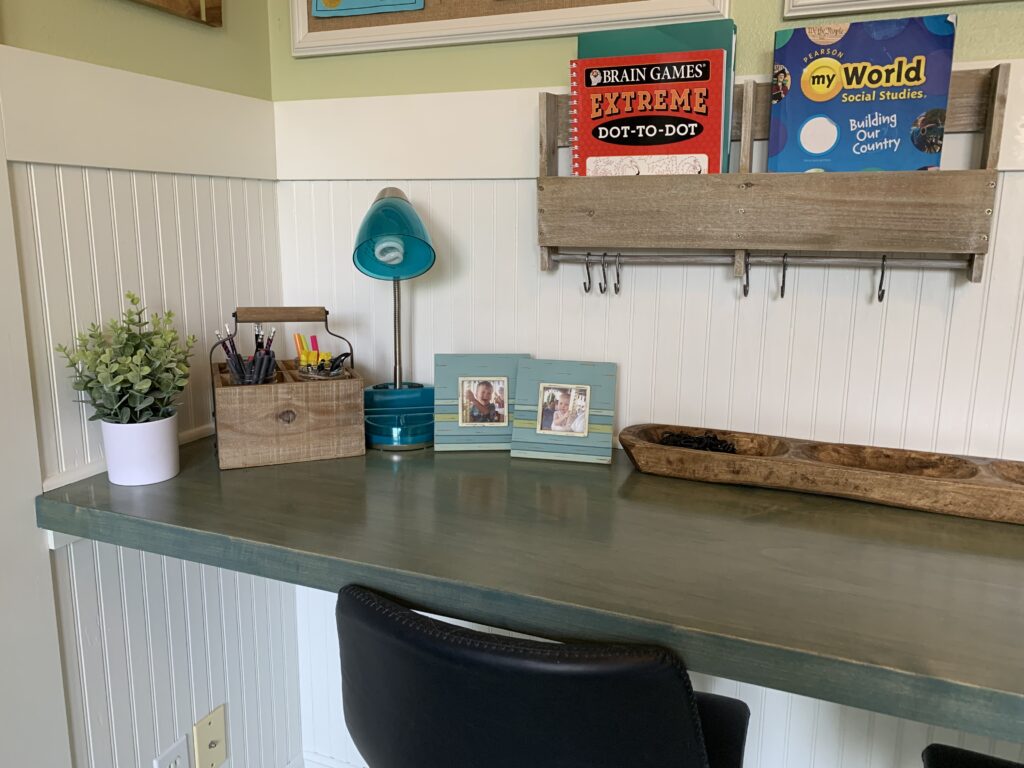
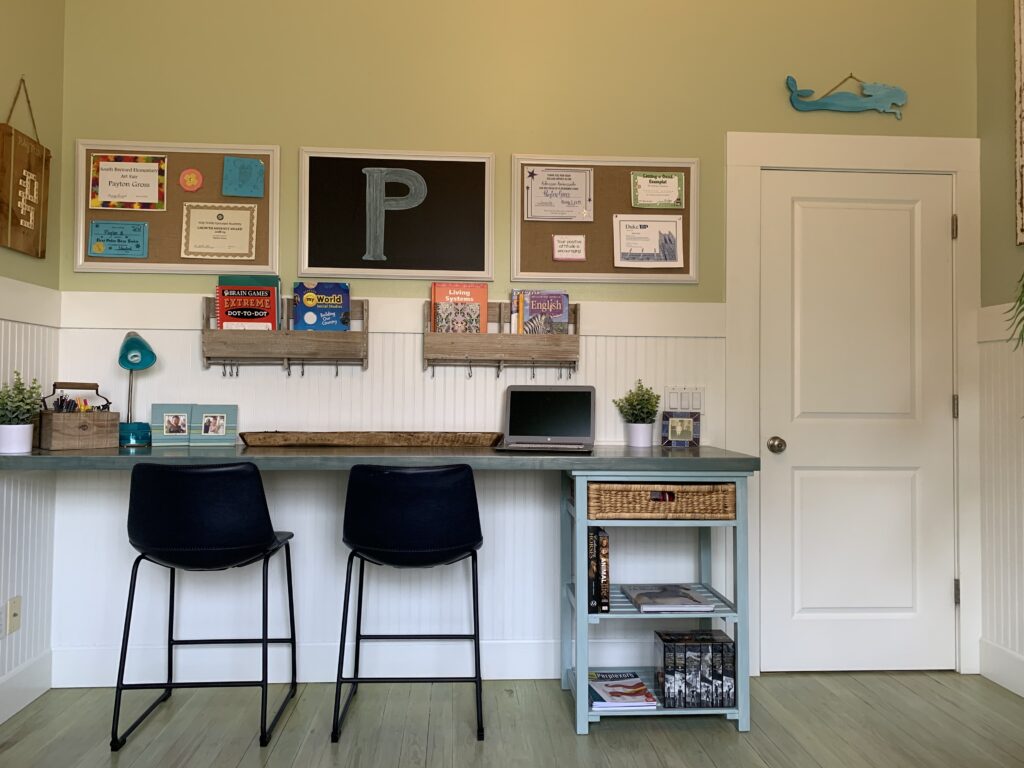
Let’s talk about the desk…My favorite part of the room, hands down, is the desk. I would have LOVED a desk like this when I was a teenager. The dark blue leather bar-height chairs were the inspiration…I was wandering through Home Goods when I saw them. They screamed “teenage room study station” to me – reminding me of hip common area in a trendy college dorm or study hall. I initially came home without them, but they haunted me. I studied the space in her room for hours to see if I could make it work.
That’s when I figured out that by moving the clothing drawers to the closet (see Custom Closet Under $250) we could free up a whole wall to install an eight foot long (almost floating) desk. So I went back to buy the stools and began shopping for a something to use as the counter top.
I considered having a laminate top made for the desk, but I didn’t like any of the sample colors, Then I thought maybe a live-edge slab of wood for a more earthy feel. In search of that, I ran across a wood supply house that would make me a sleek slab out of maple for about $350! It has the thick chunky look I wanted, but more sleek to go with the leather chairs. The best part is we stained it a fun blue color, by watering down the Pigeon Blue paint we used on the bookcase and chest, to get a fun nautical vibe. Several coats of Polyurethane later and this is the result.
The rest of the room pretty much came together by hunting down bedding and accessories at Bed Bath & Beyond, Target, Home Goods, and the local vintage markets. I also had to do a fair amount of touch-up on the wainscoting.
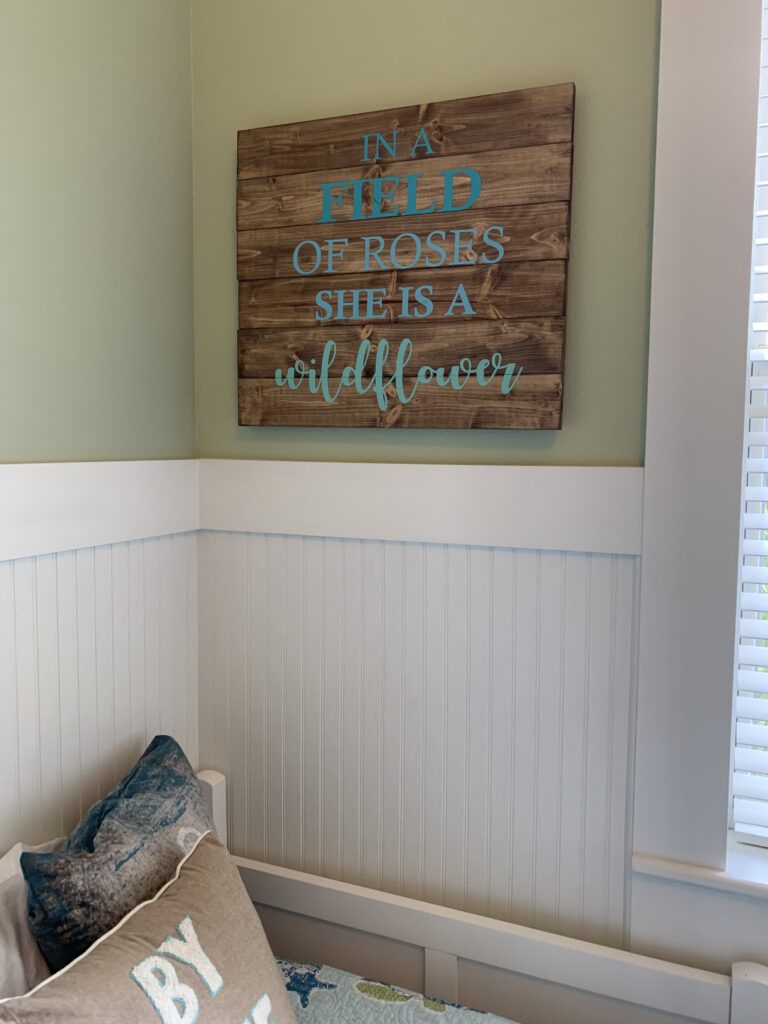
Payton put her own touches on the room by selecting some of her favorite knickknacks to put back on the shelves, a few fun table top items from the vintage markets, and a stenciled sign she made when we had a girls night out with some friends at The Rustic Brush.
My favorite part about a project like this is that you can splurge on a few pieces (for us that was a high-quality bed, fun bedding, lots of pillows, and the desk slab), and then use creativity and bargain shopping to pull together a great, one-of-a-kind space.
Payton loves her new room (almost as much as I do), and it was a fun project we worked on together! The only one not happy is the dog, since she doesn’t fit in the side chair with me when it’s time to read.
More After Pictures
Tips
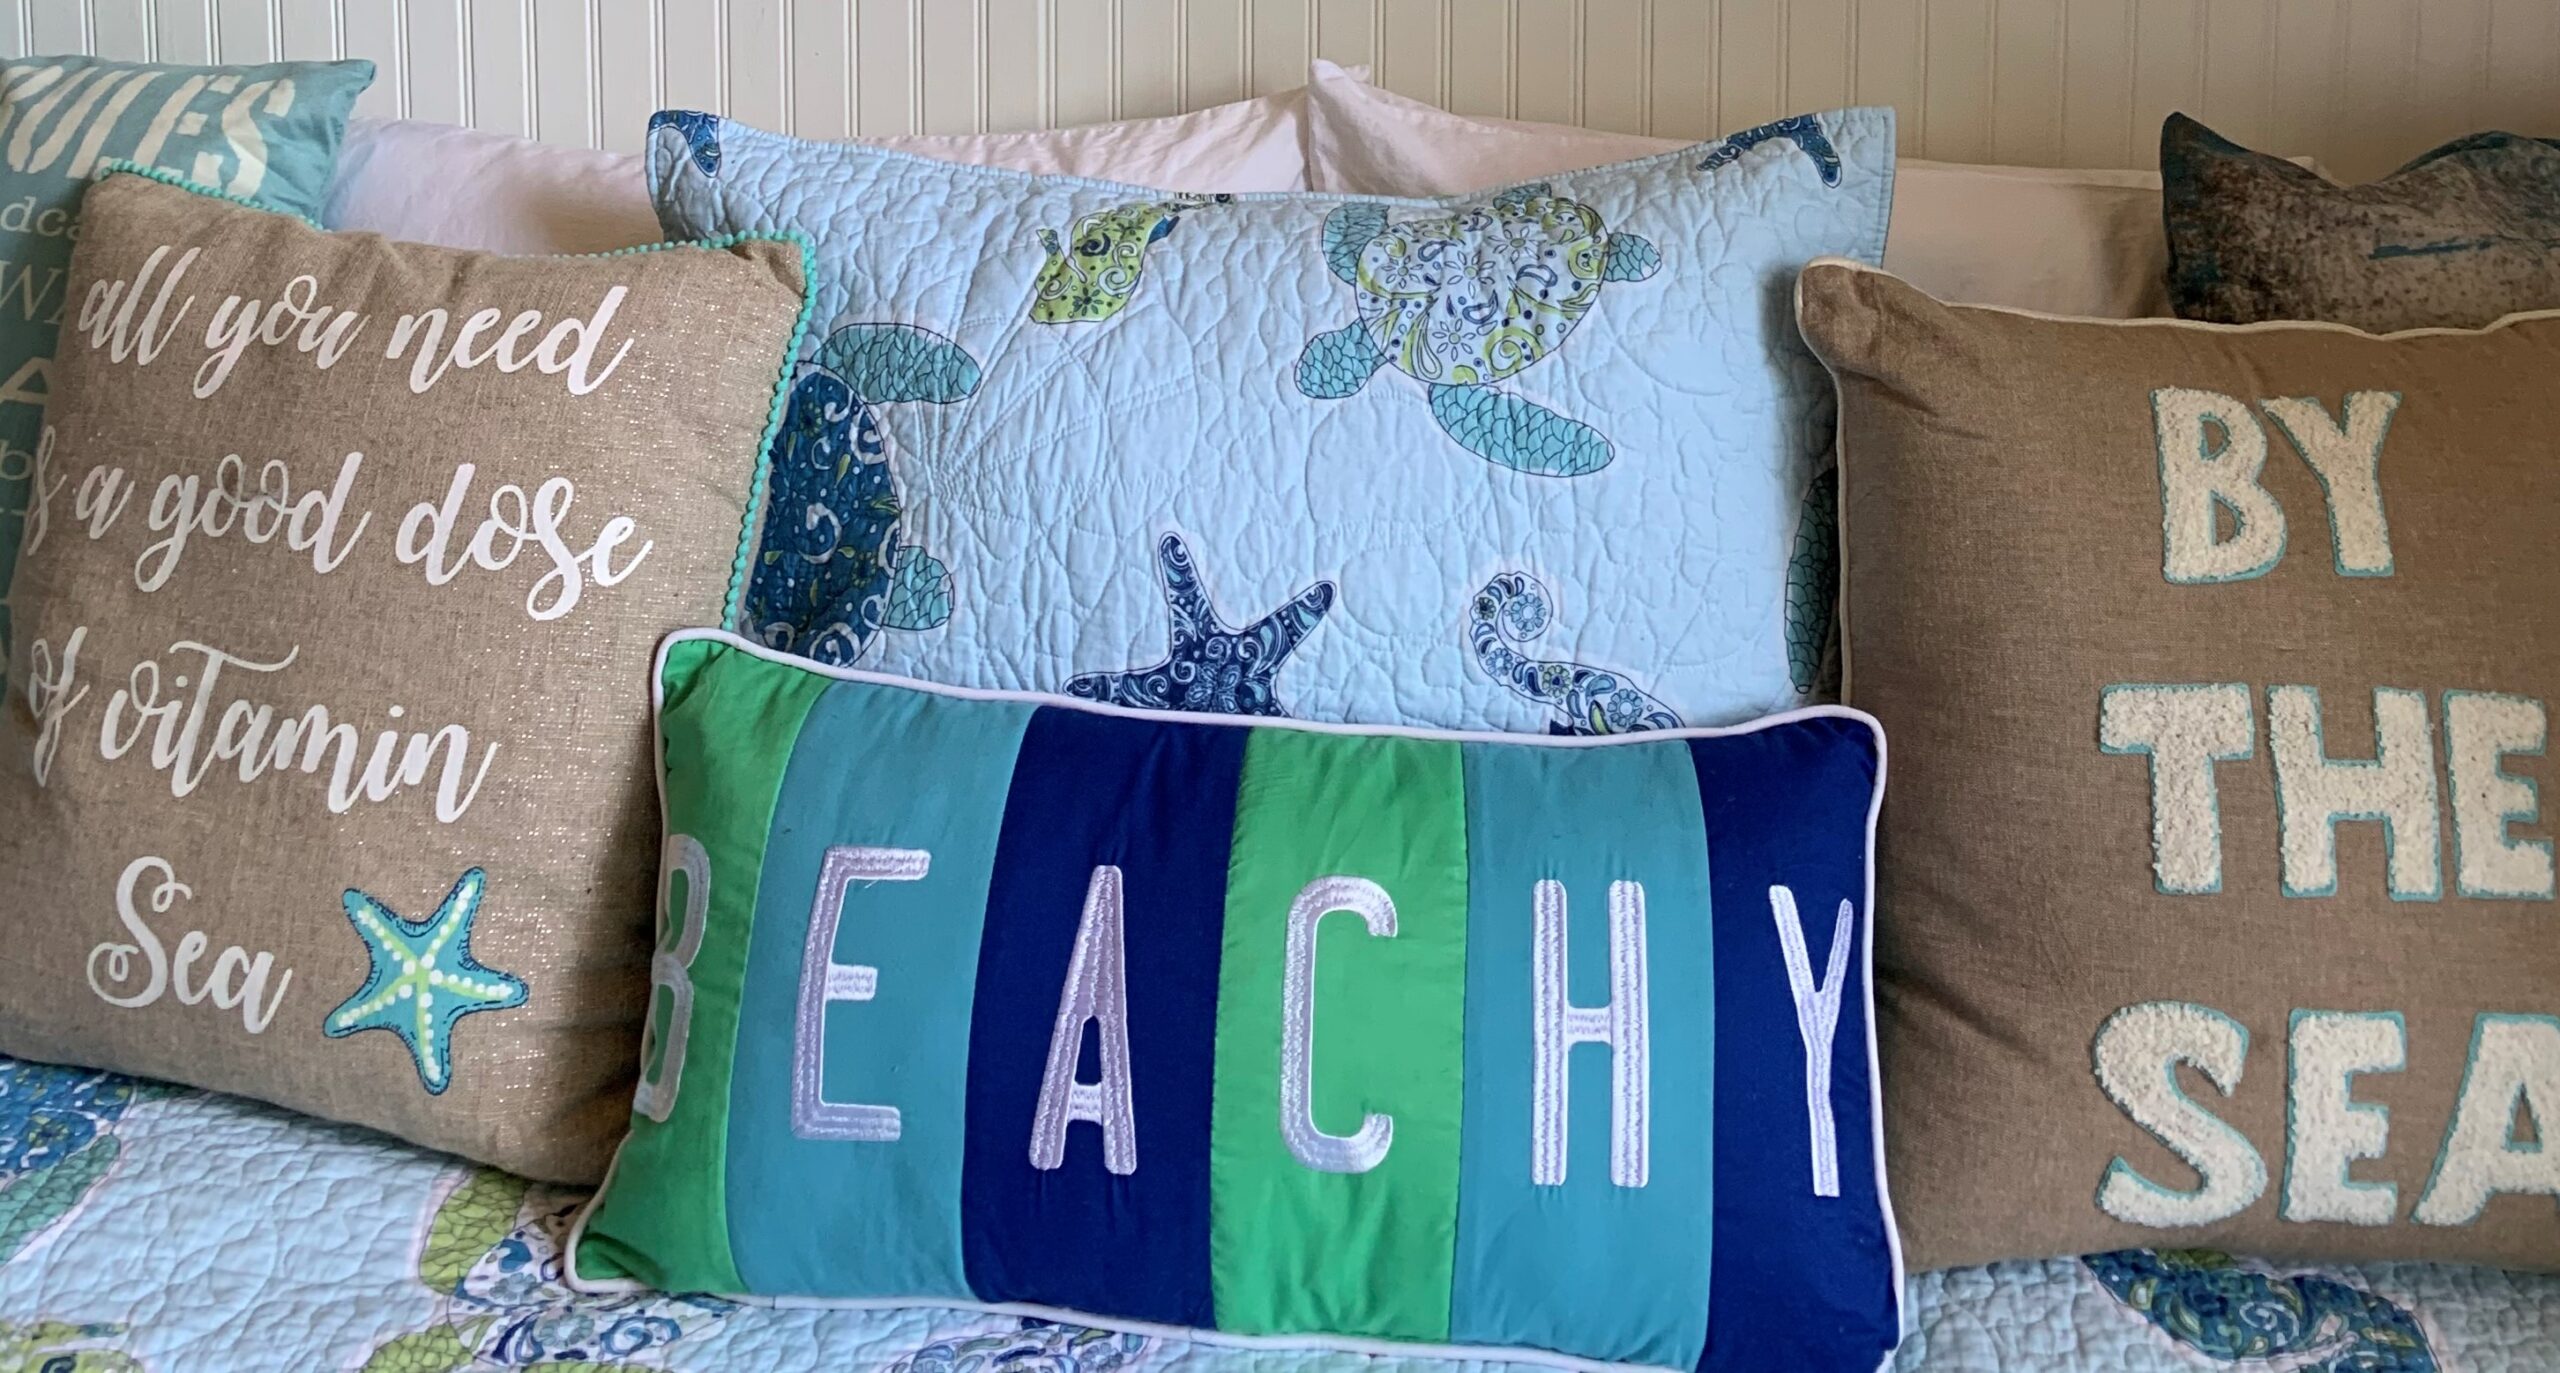
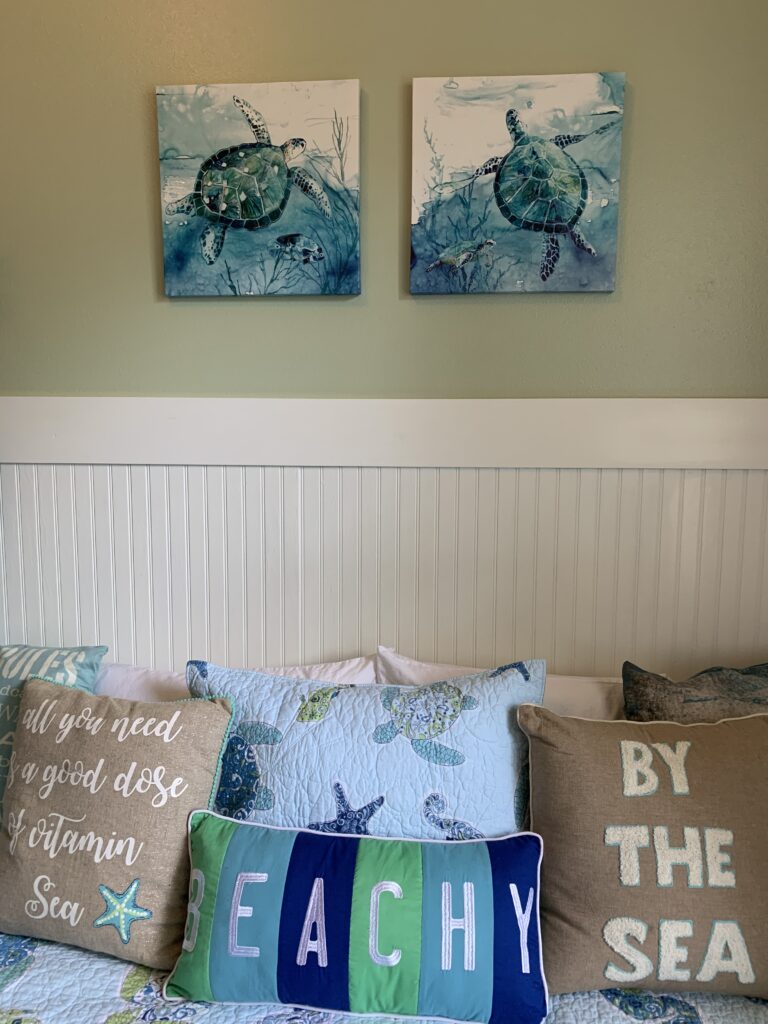
- Start with something you can build off of. For me, that is almost always a fabric, like the nautical bedding Payton chose. That becomes the palette for the room.
- Be realistic about the scope. This room already had pine floors stained a soft green color (with a similar color on the walls and carried into the adjacent bathroom). We weren’t willing to sand the floors down to change the color, or gut the bathroom, so the new design had to work with those elements.
- Let the space evolve. Once we assembled the new bed, it was so much easier to visualize the space and make decisions about the remaining furniture. The desk would probably never have happened if I had tried to plan the whole room up front.
- If you’re going to DIY, be patient and enjoy the process. I loved every bit of poking around stores and markets with Payton to find inspiration.
Love it he transformation!!! Gorgeous!