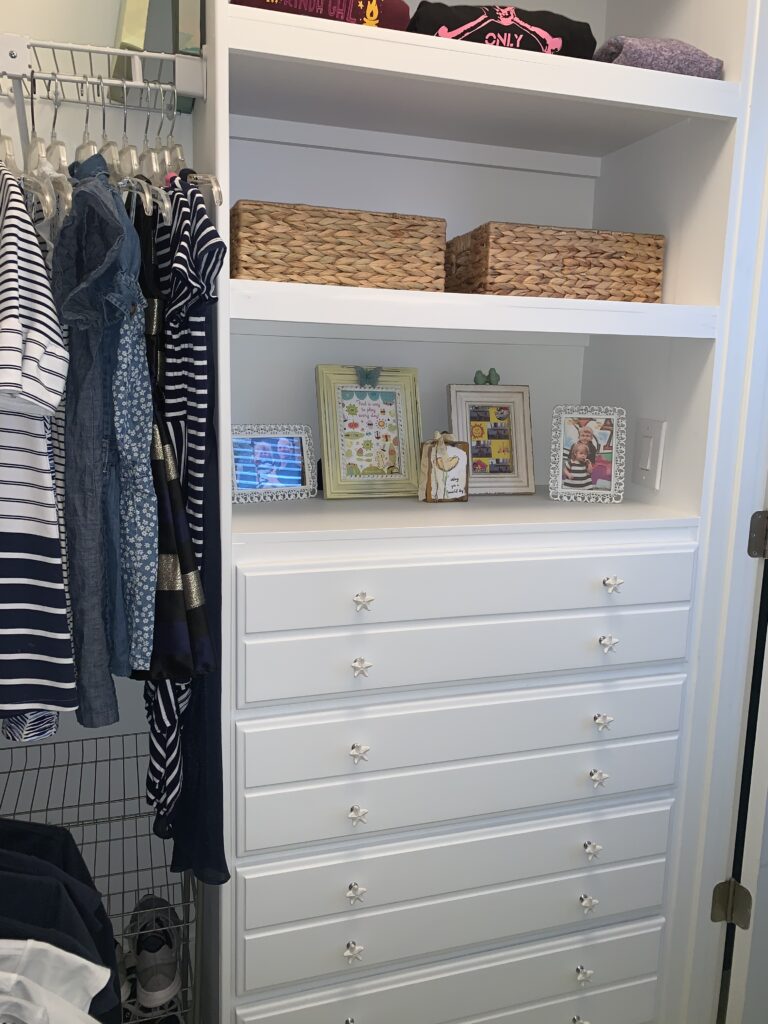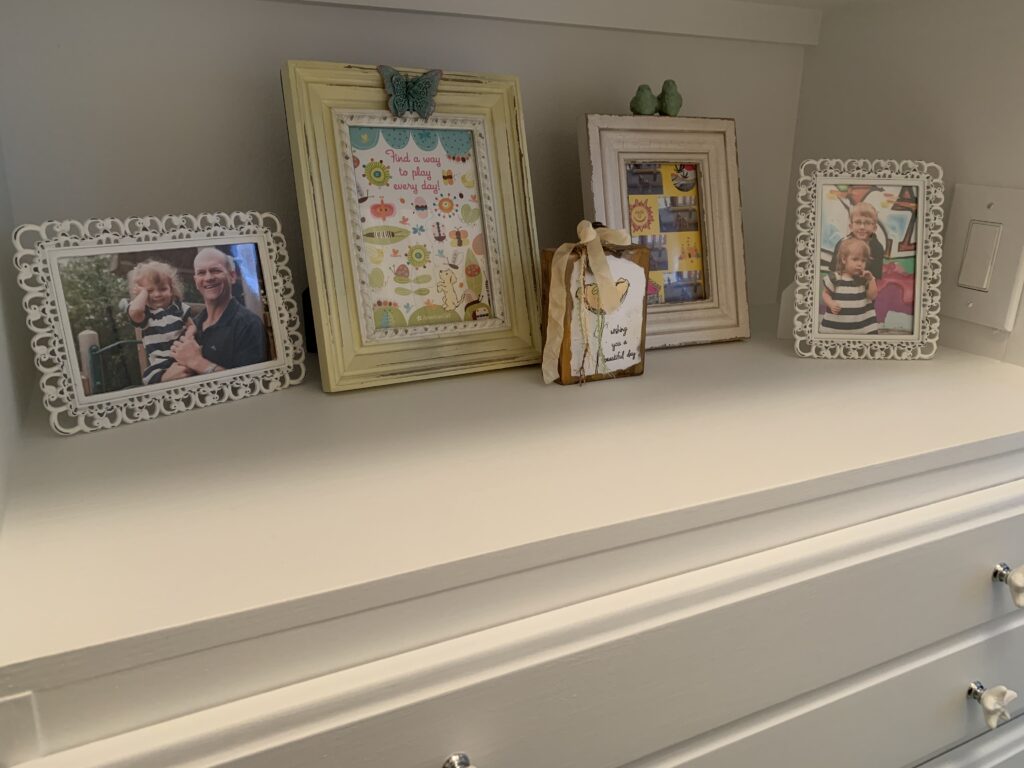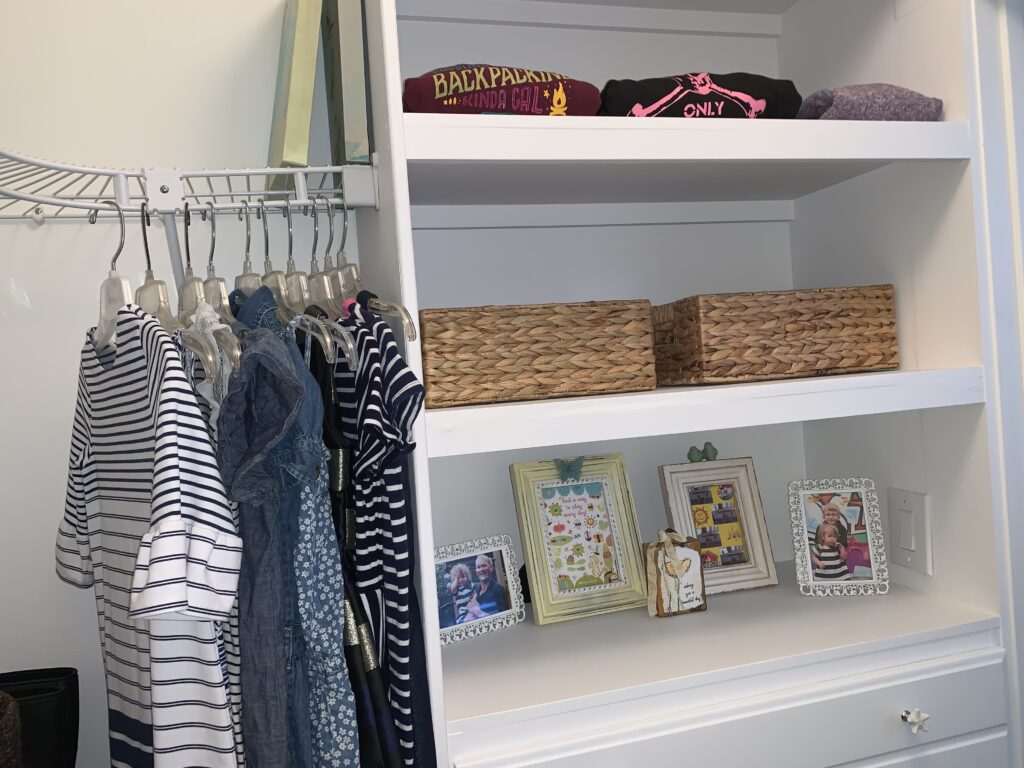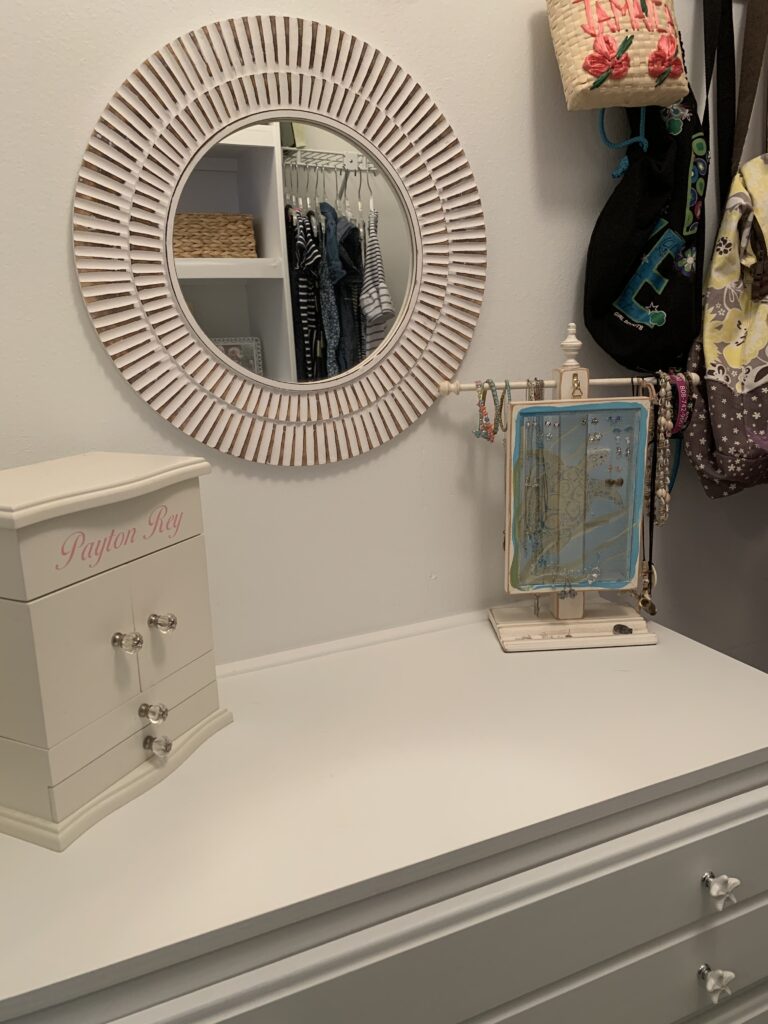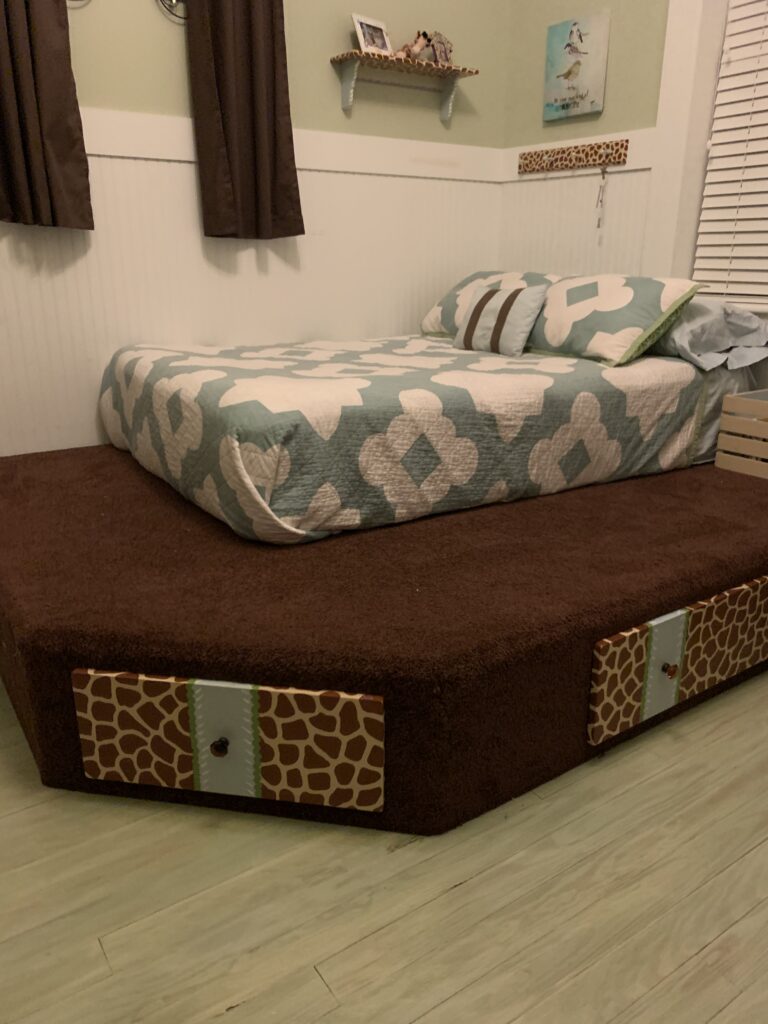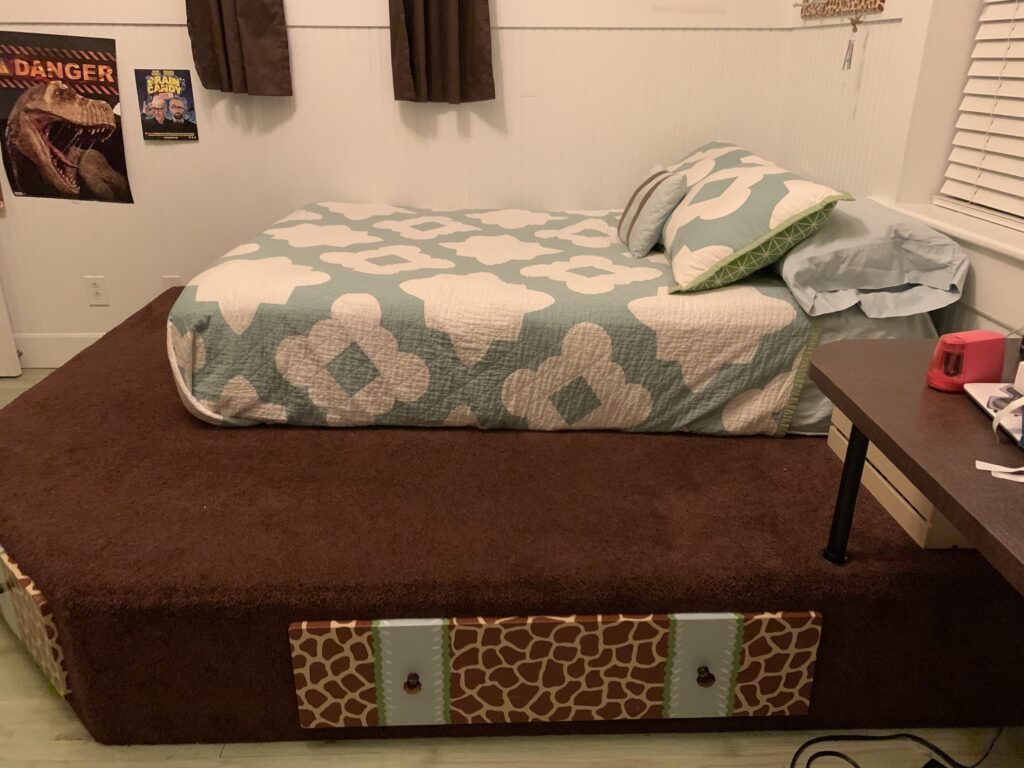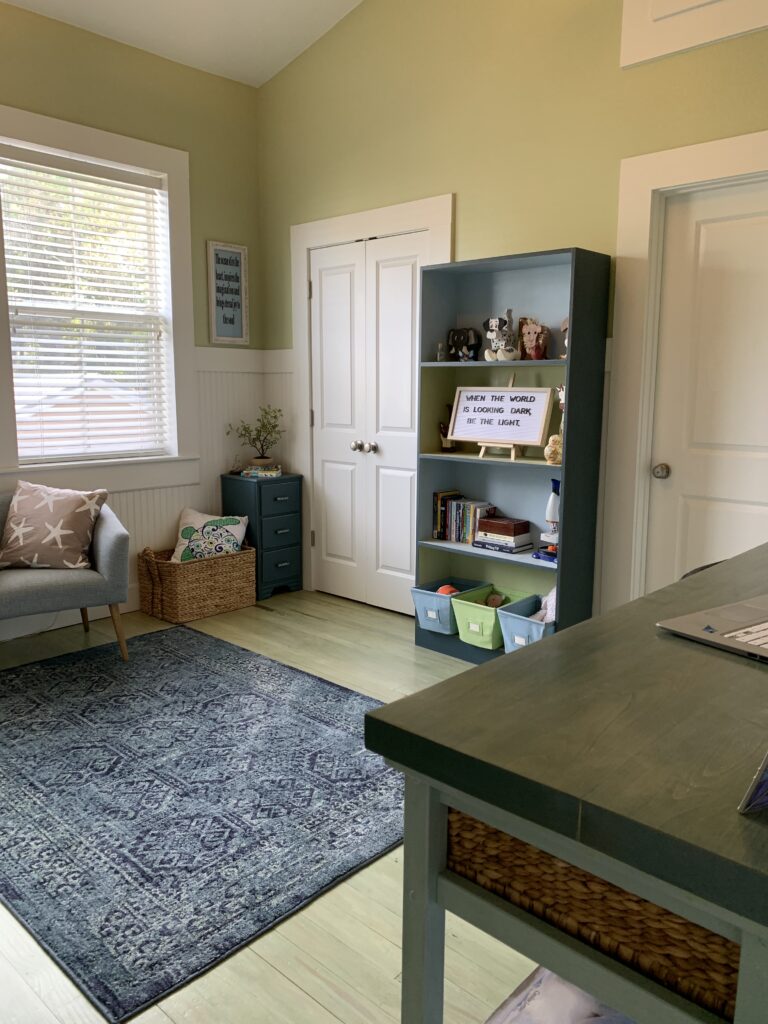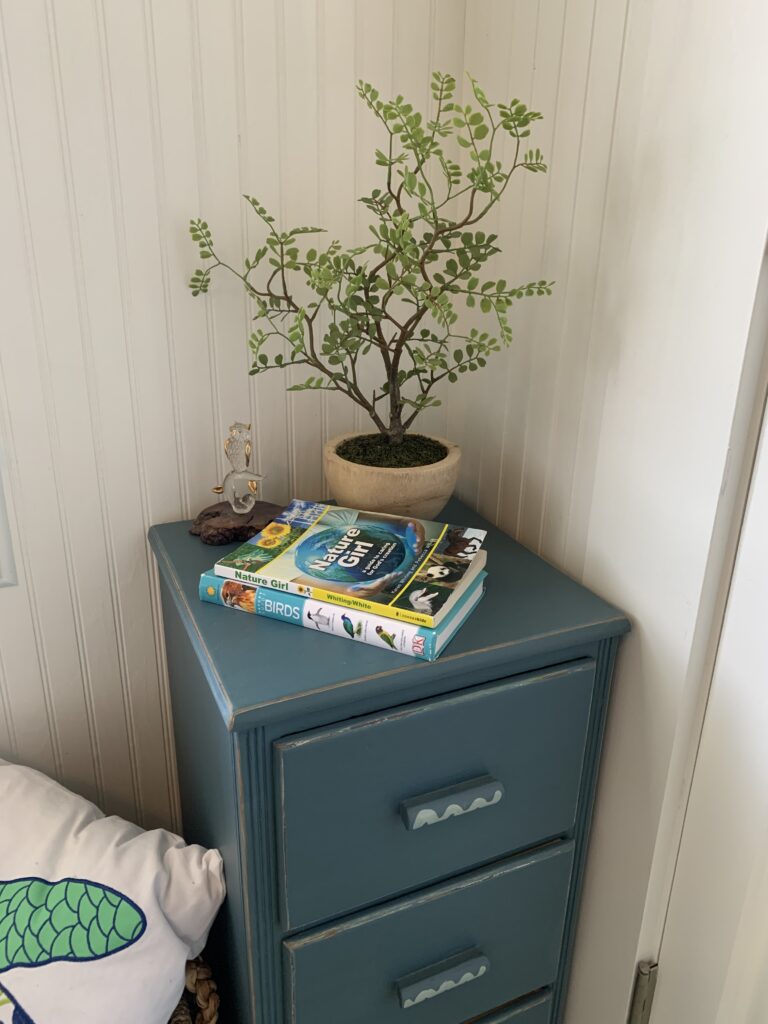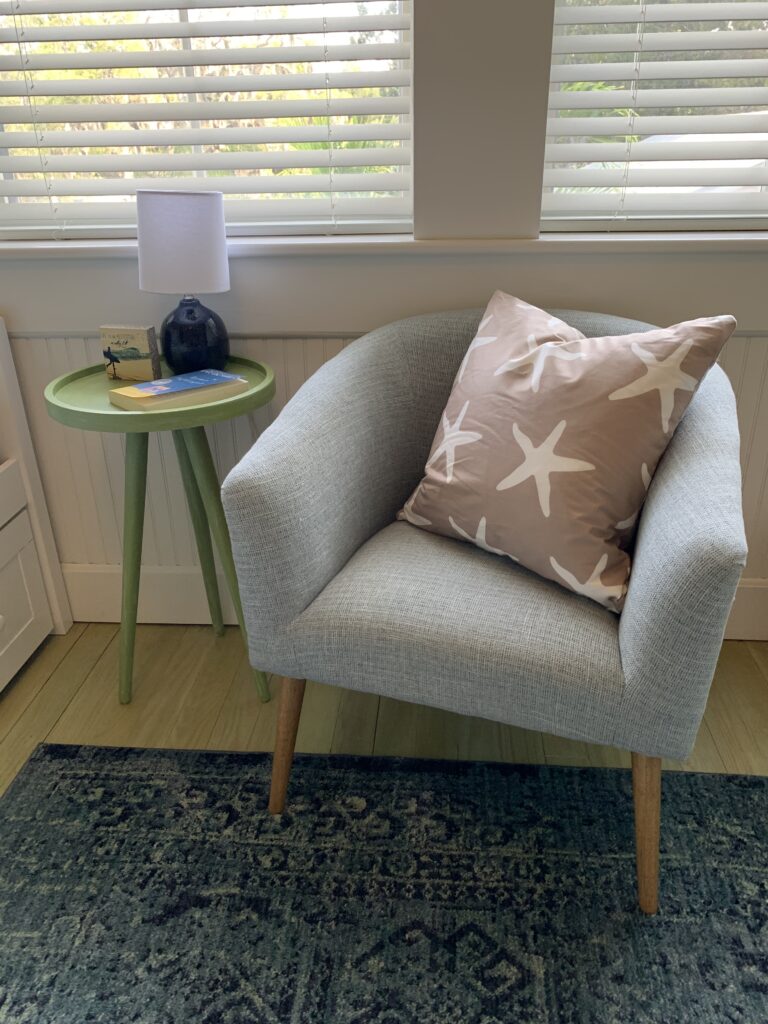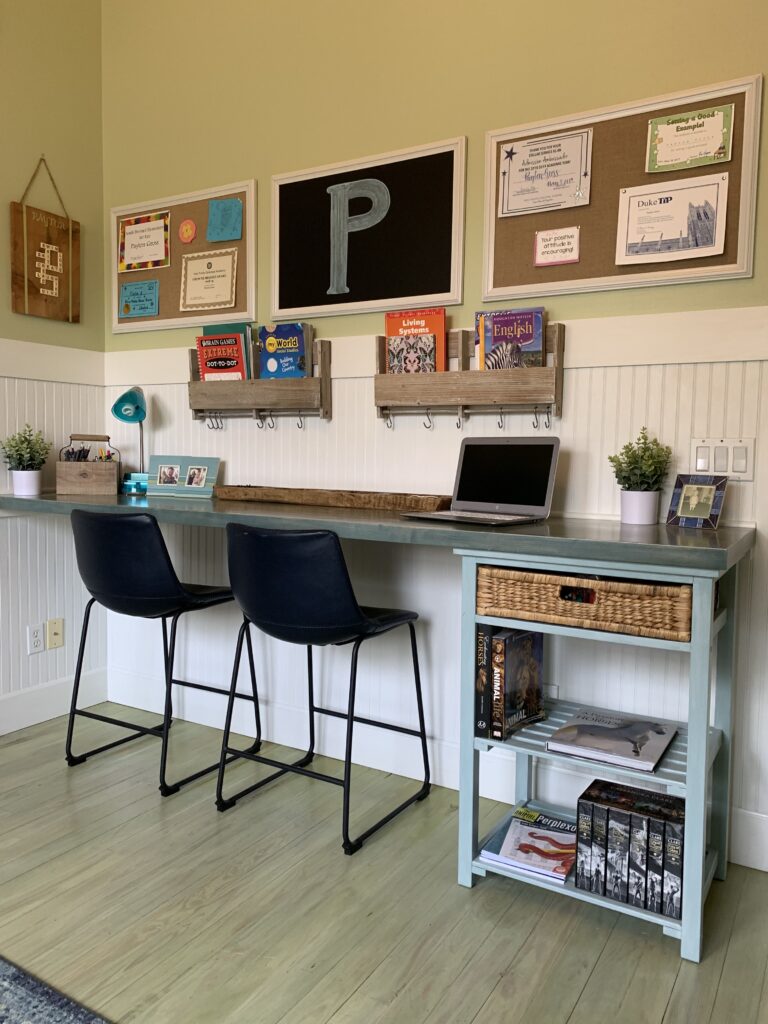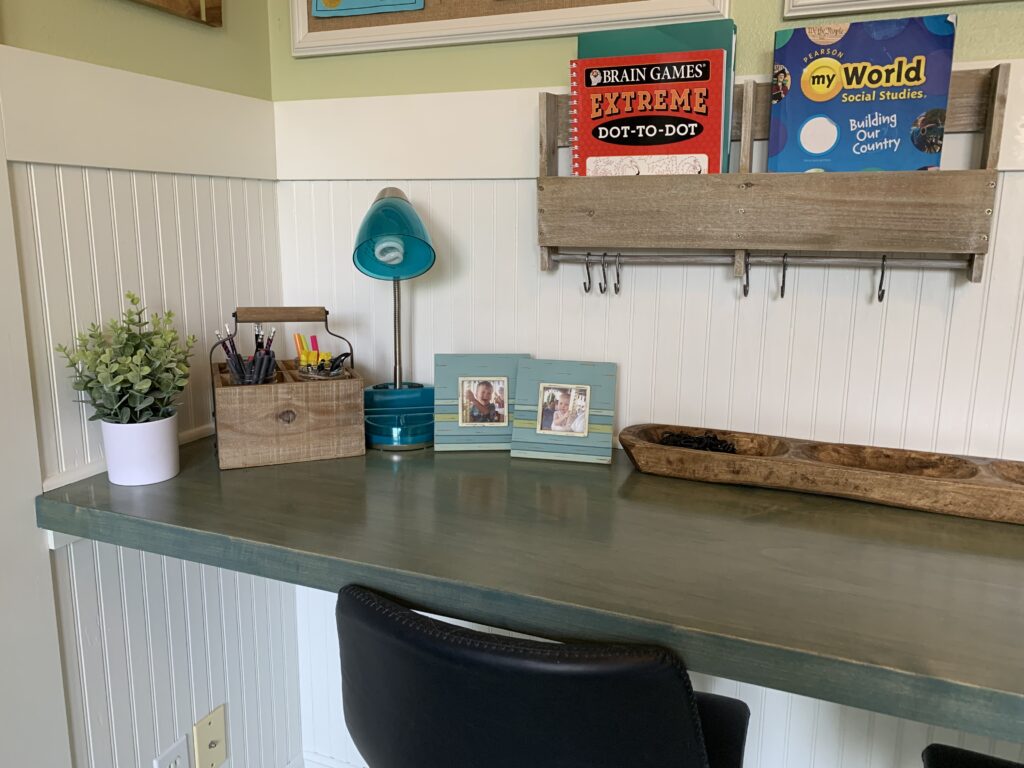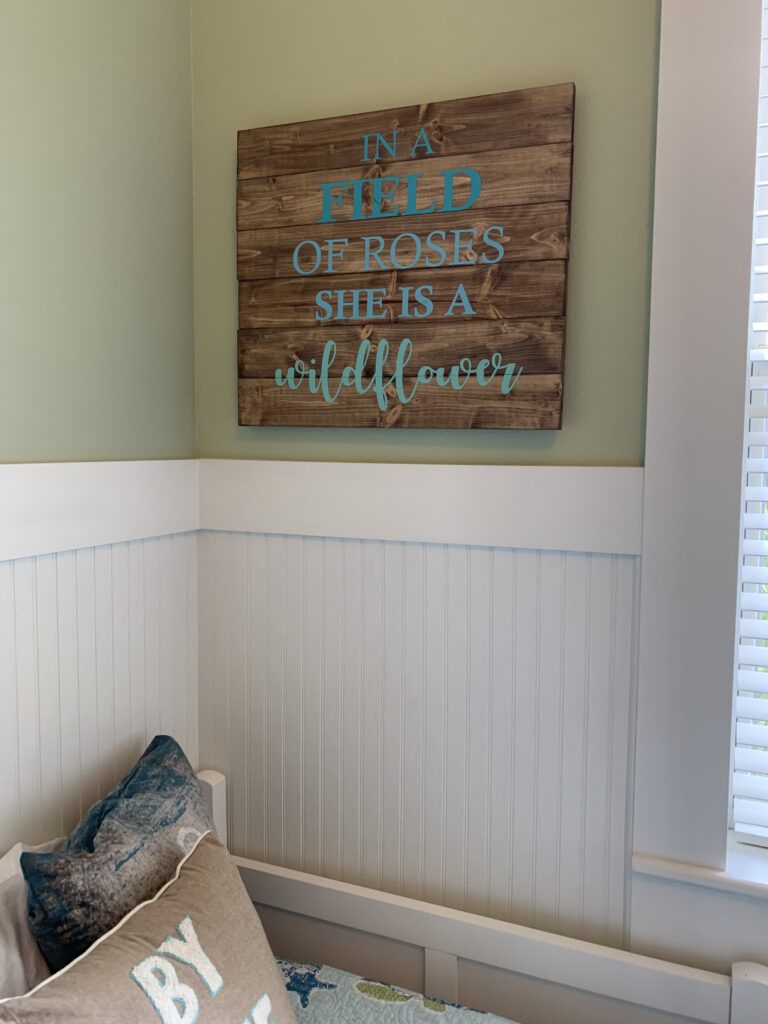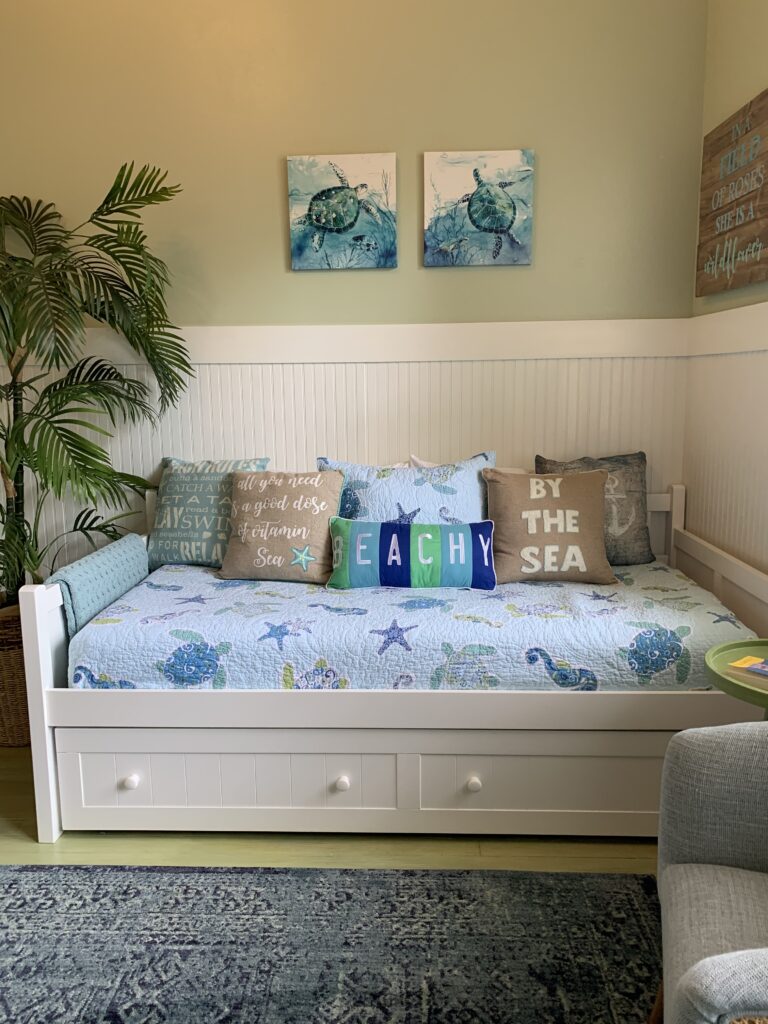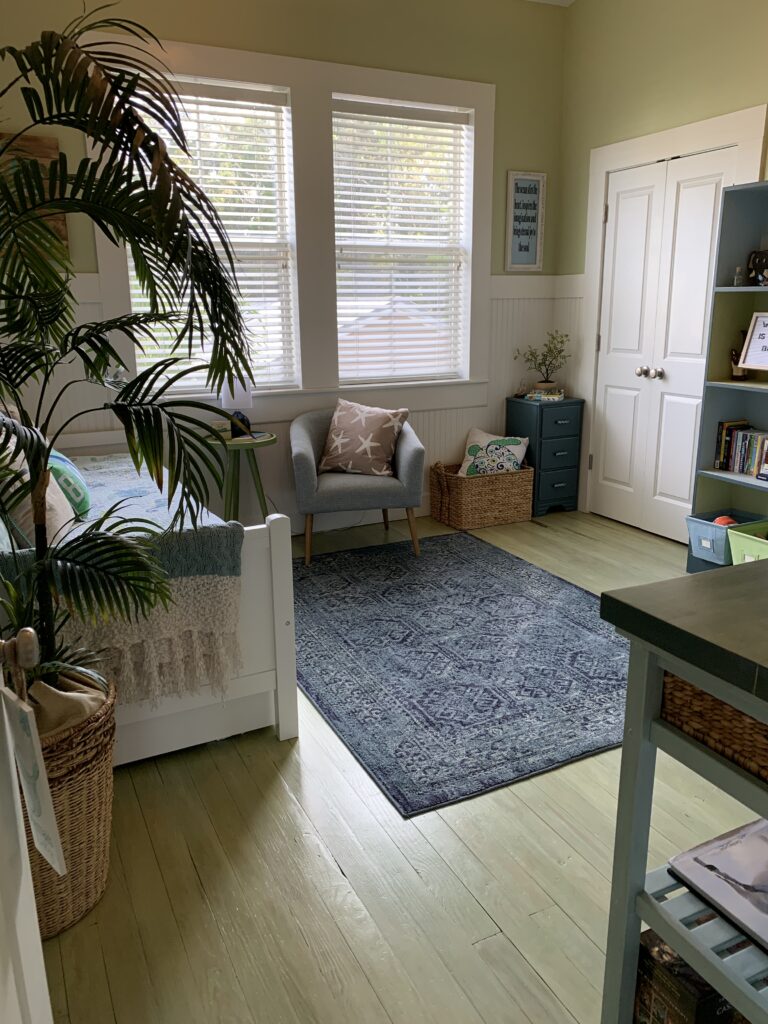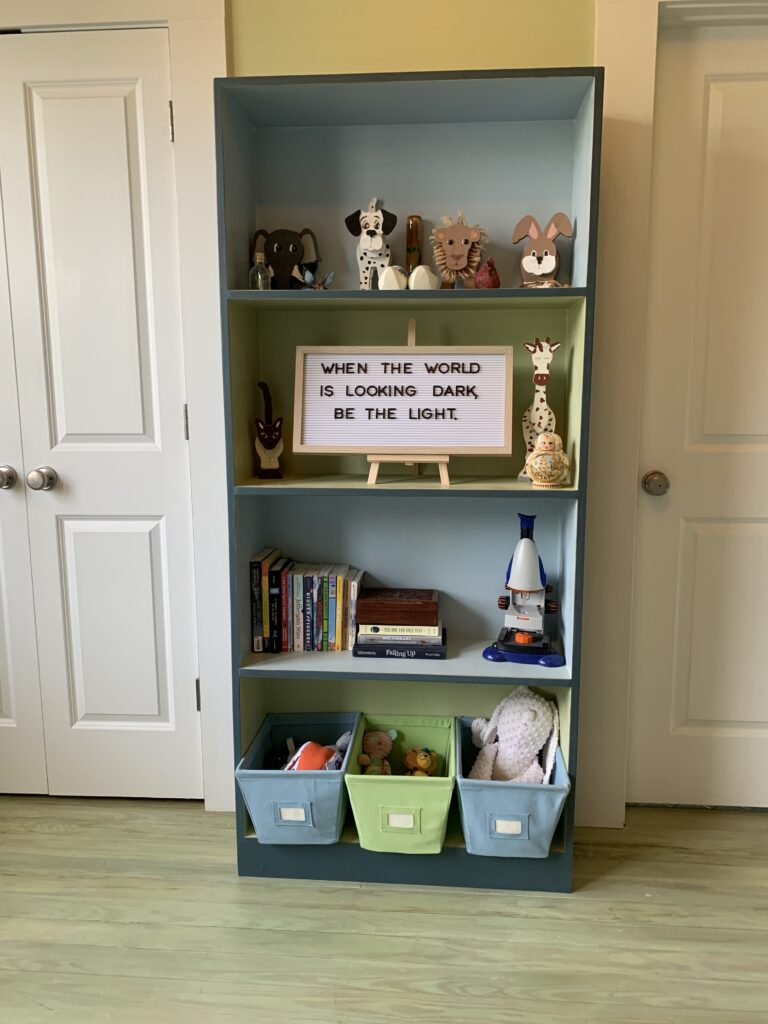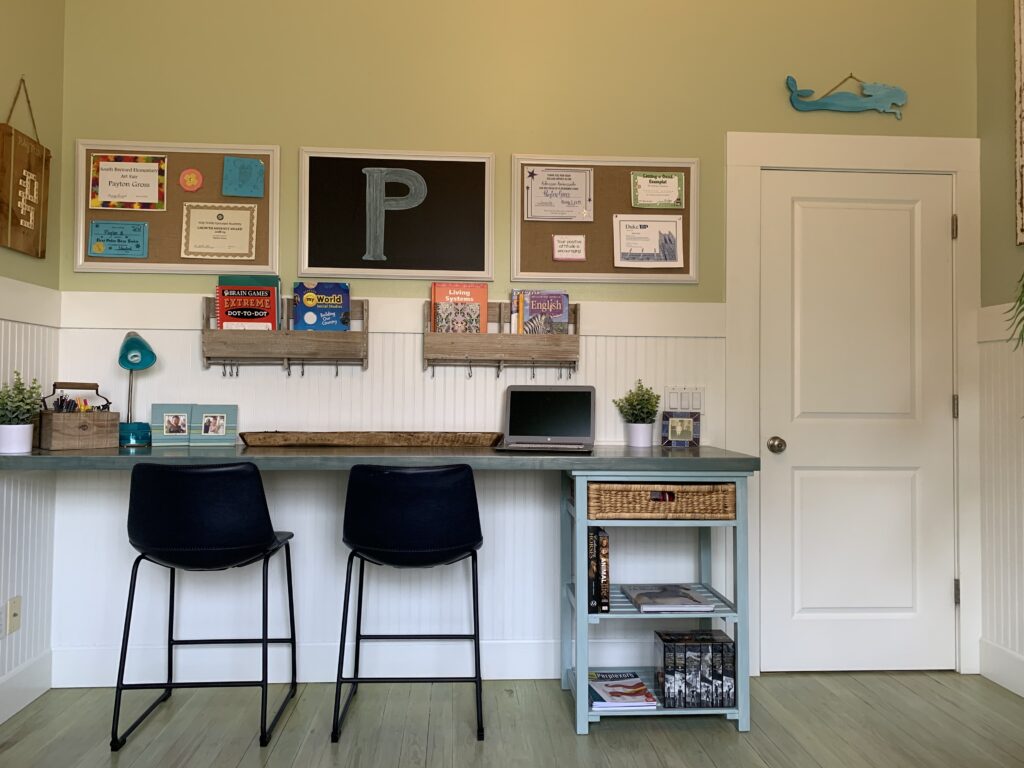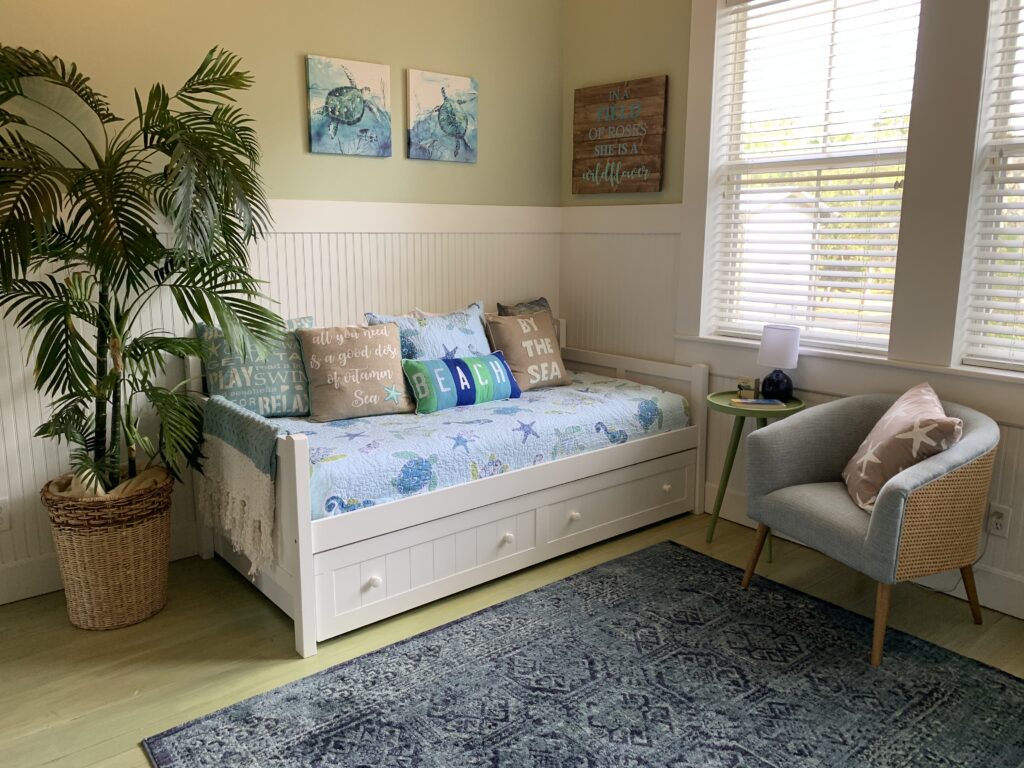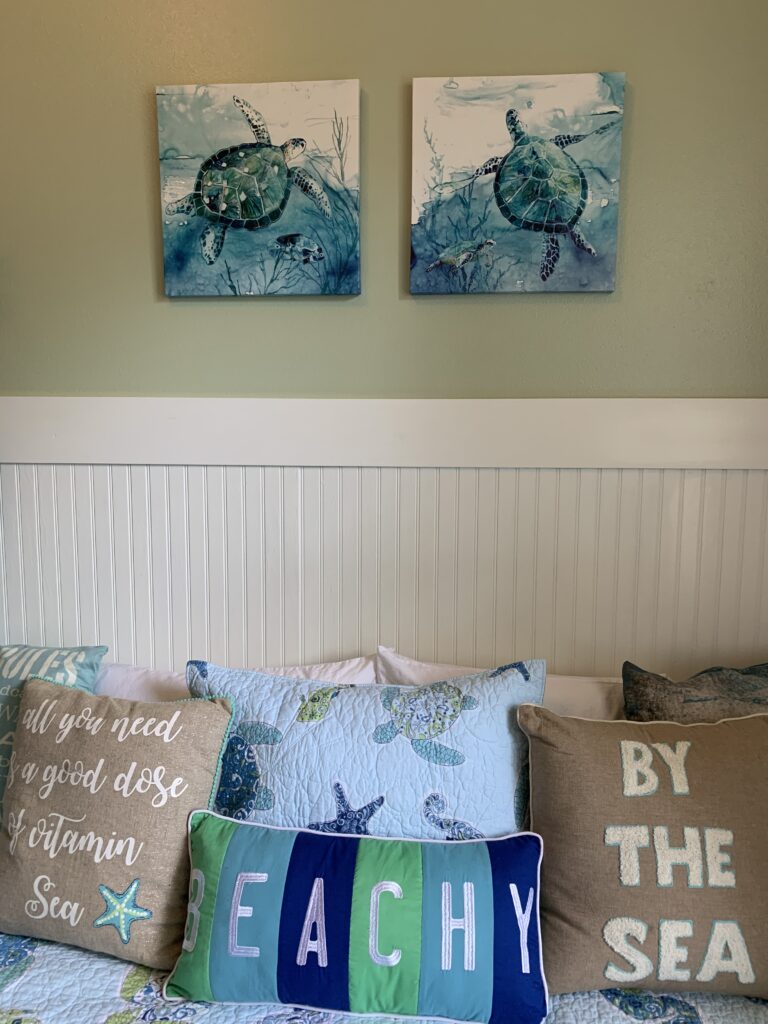
When we gave our 11 year-old daughter a room remodel for Christmas, I didn’t realize the closet would require the most work…but the result was totally worth it and I did it for under $250!!
I had always planned to put built-ins in the closet, but due to the odd size of the closet, I assumed they would have to be custom-built . Now I’ve got some solid wood-working skills, however building a functional space with a bunch of drawers and shelves was a little much for a working mother of two, with basketball and lacrosse games to attend, business travel, and a desire to sleep now an then…So I assumed I’d have to spend a few thousand dollars to get a “real” carpenter to build this custom closet.
At the same time, I had posted the kids’ baby furniture (which Payton had been using as her dressers) for sale on Letgo and Facebook – two high-quality pieces of furniture: a four-drawer dresser, plus a changing table with three large drawers, one small drawer, and a cabinet. In 30 days I had only received one inquiry – the woman was ready to buy them until we realized she was in California and I was in Florida…note-to-self, if you post items for sale on some of these sites, they flag your location automatically based on the location services on your phone at the time you create the post. I couldn’t sell high-quality furniture that had cost $1500 new (and still looked new) for $200! WTH?
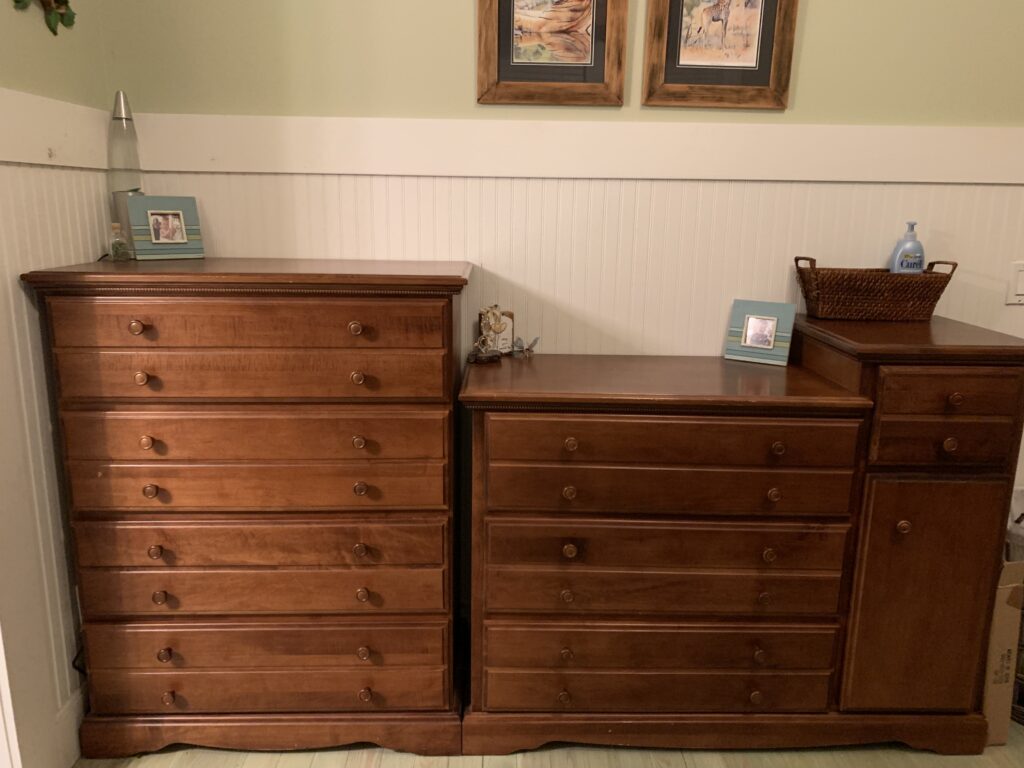
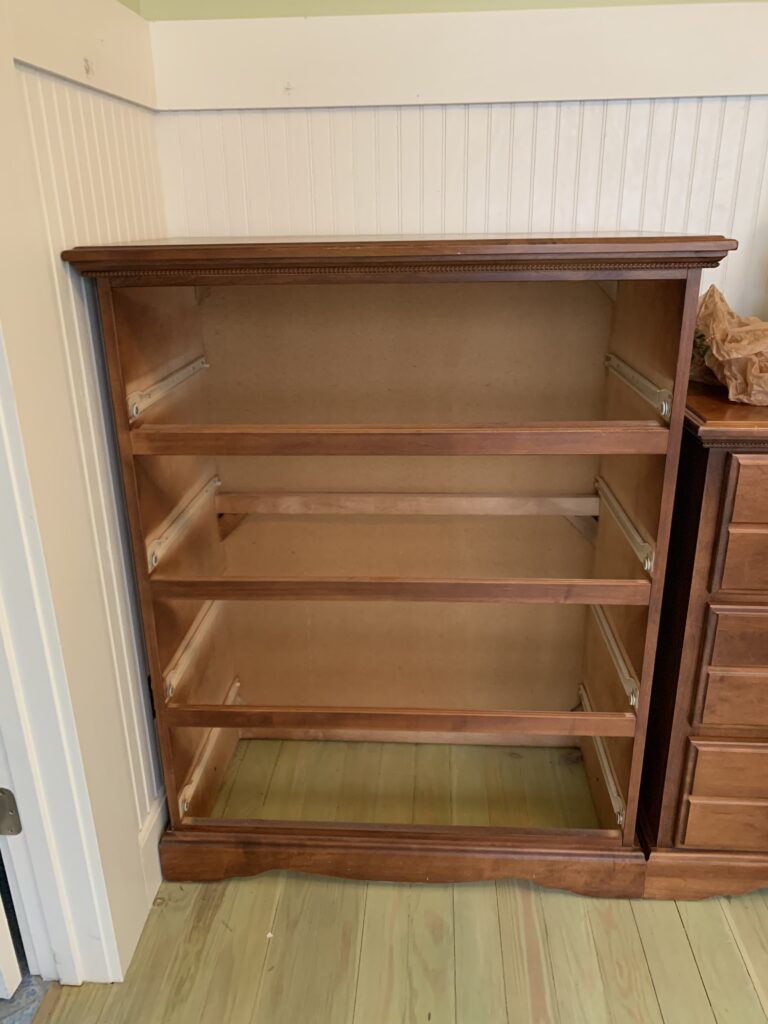
And that’s when it hit me! I measured the depth of the dresser drawers and realized I could reuse them in the closet! Woo Hoo! I might be able to handle building out the closet myself if I didn’t have to build the drawers…But the more I worked on the plan the more I realized…I could use the furniture bases as well, not just the drawers!
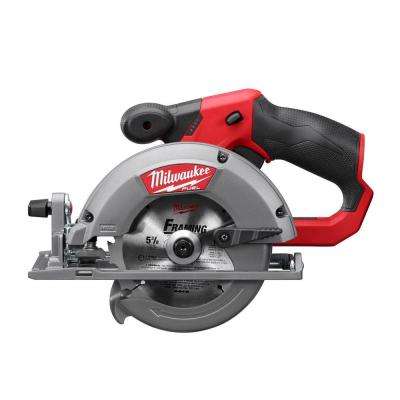
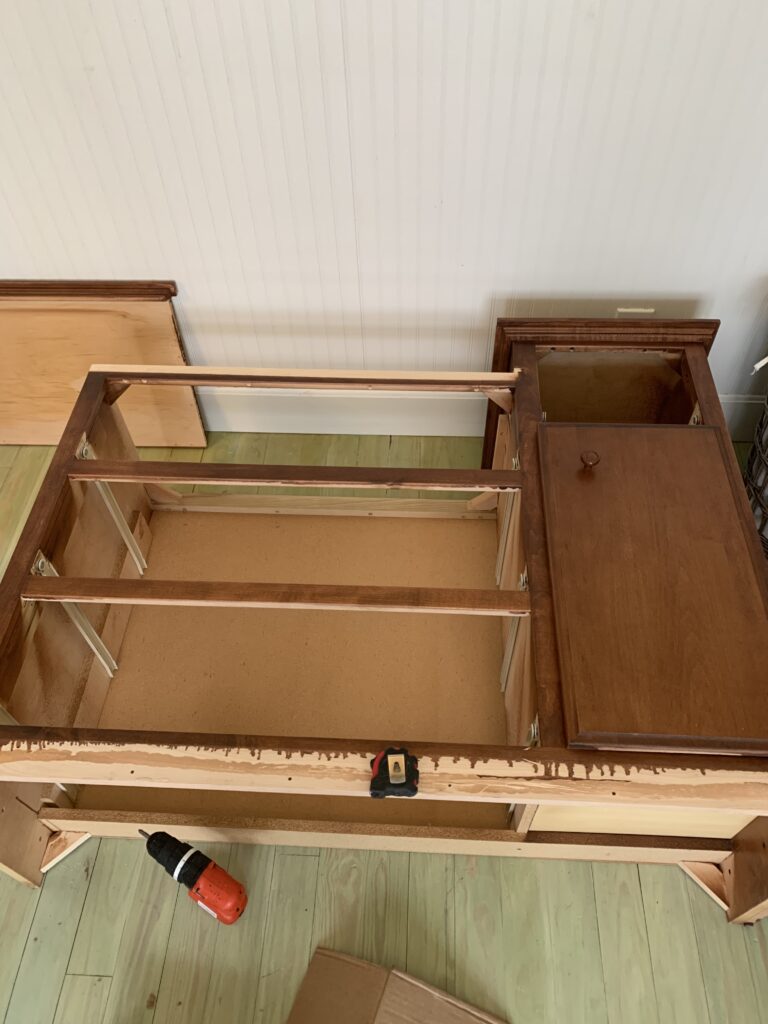
So I went to work! I started dismantling the pieces with a crowbar, a hammer, and a screw gun. But I also love my power tools. My new favorite is the Milwaukee battery-operated circular saw. I’ve never been comfortable handling a full-sized circular saw, despite the fact that I use the table saw, the compound miter saw, jig saws, sanders, drills, and so on. But we recently got one of these babies and it’s changed my life (ok, my project life). It’s smaller enough and light enough for me to use with ease…and there’s no cord to get in the way.
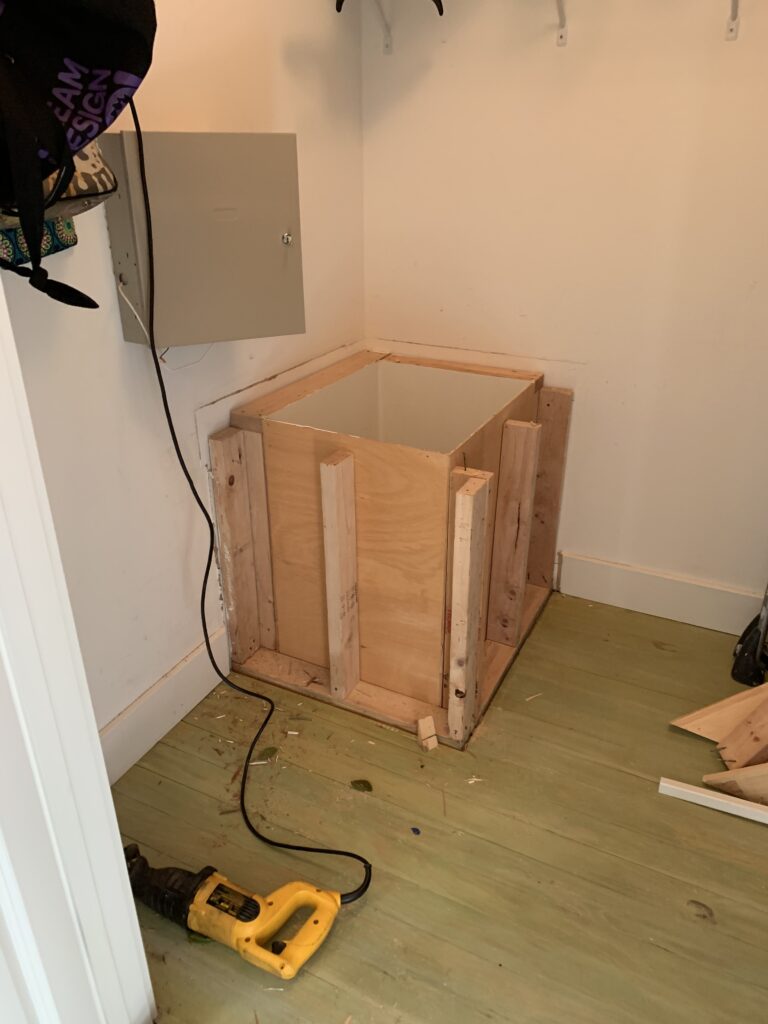
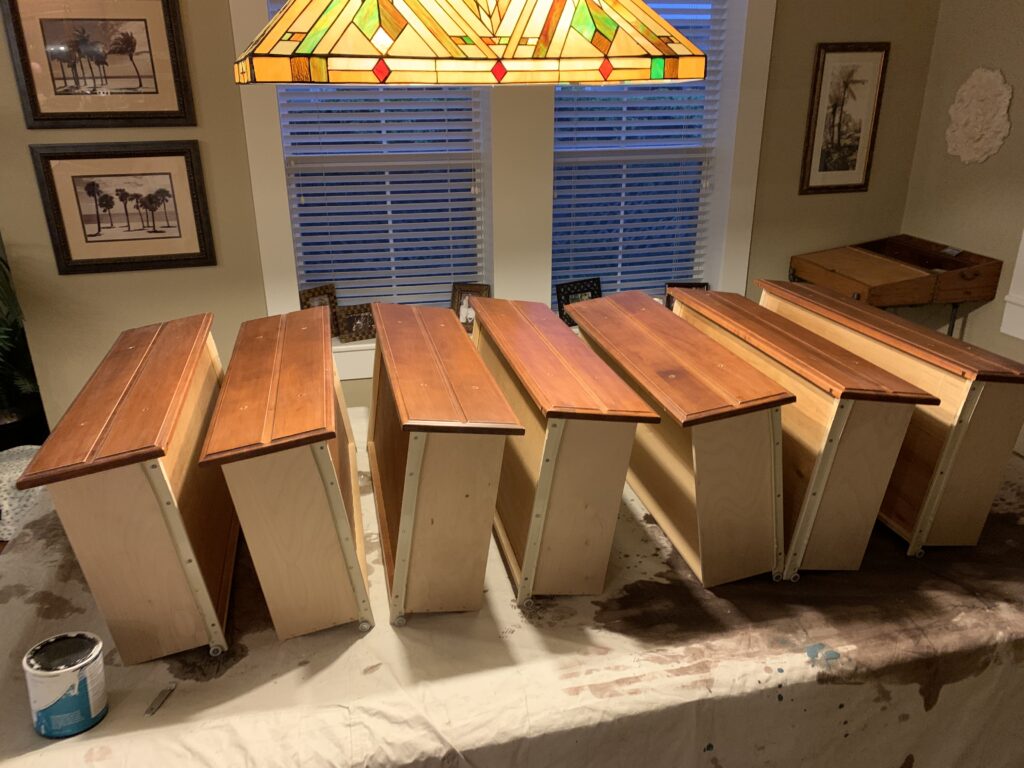
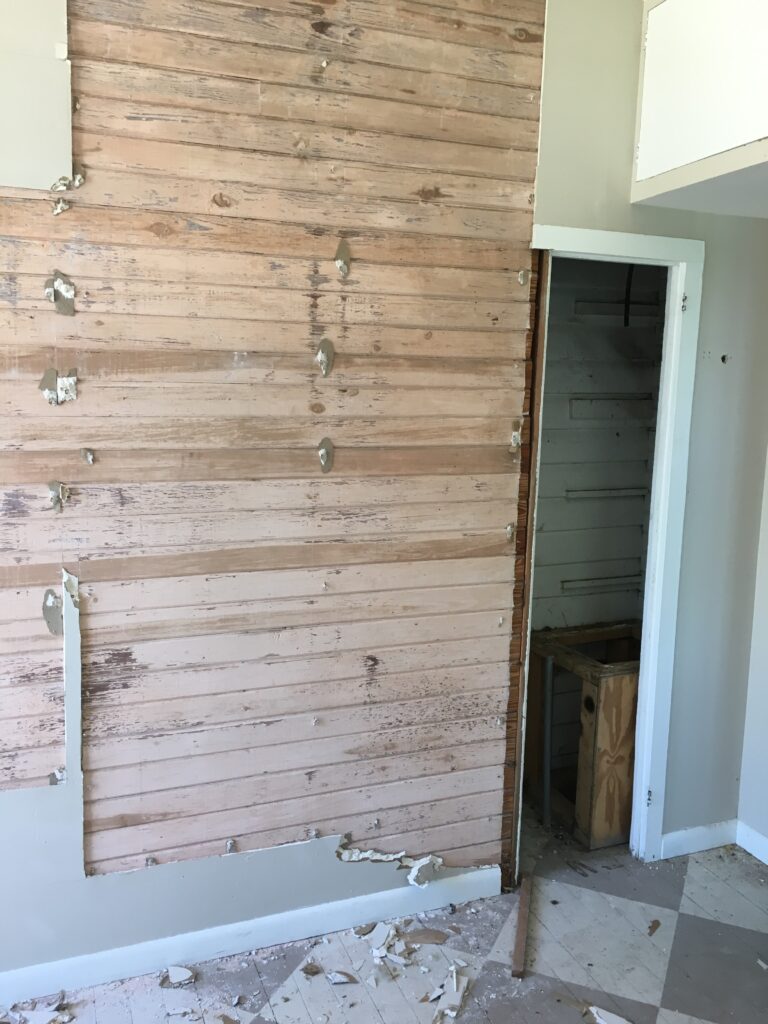
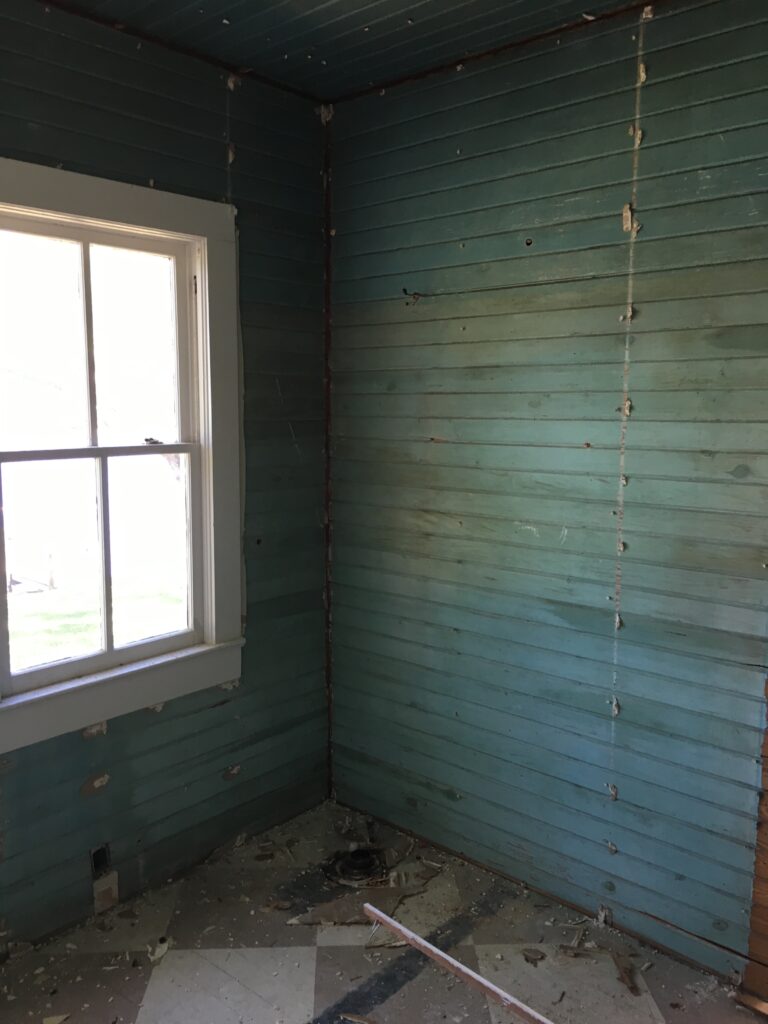
I pulled off the tops and all the trim to get the framework down to just the boxes. I left the drawer glides in place so I wouldn’t have to worry about getting them put back in place level and such. Then I used the Milwaukee saw to cut the tower off the changing table to get it down to just a bank of three large drawers. I also had to empty the closet of all the household junk being stored there, remove a bulky laundry chute that was never used and very much in the way, and replace a section of flooring over the laundry chute (not to mention match the green stain on the pine flooring by watering down some leftover green paint from years past). The laundry chute demo and floor repair turned out to be easier than expected.
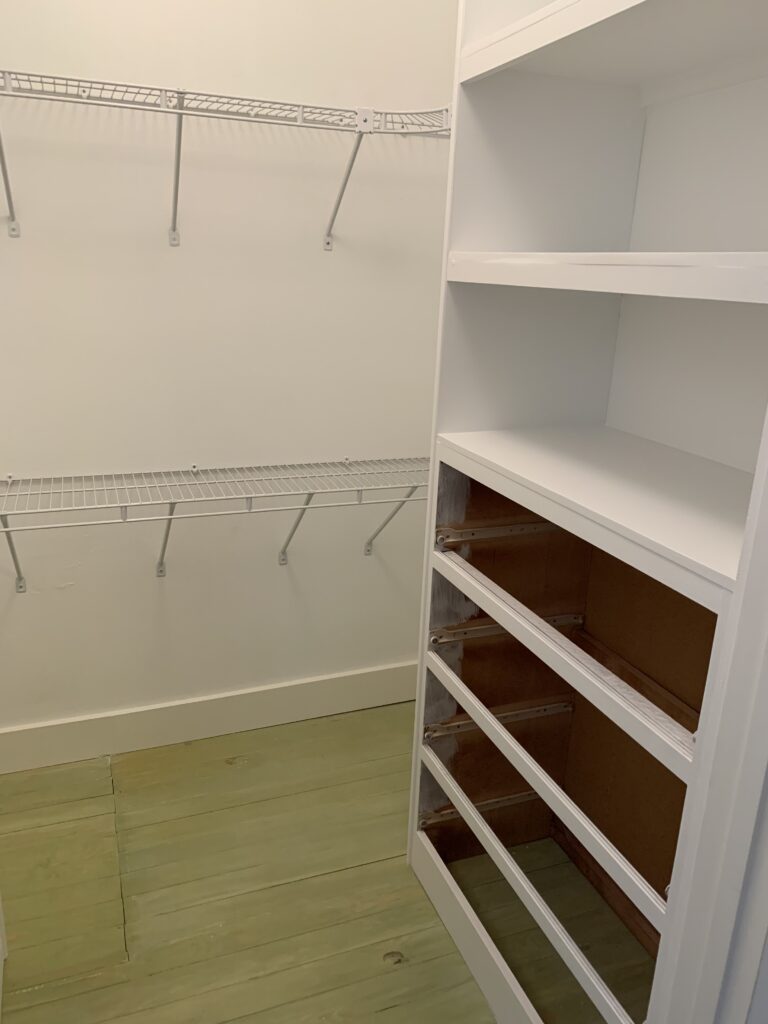
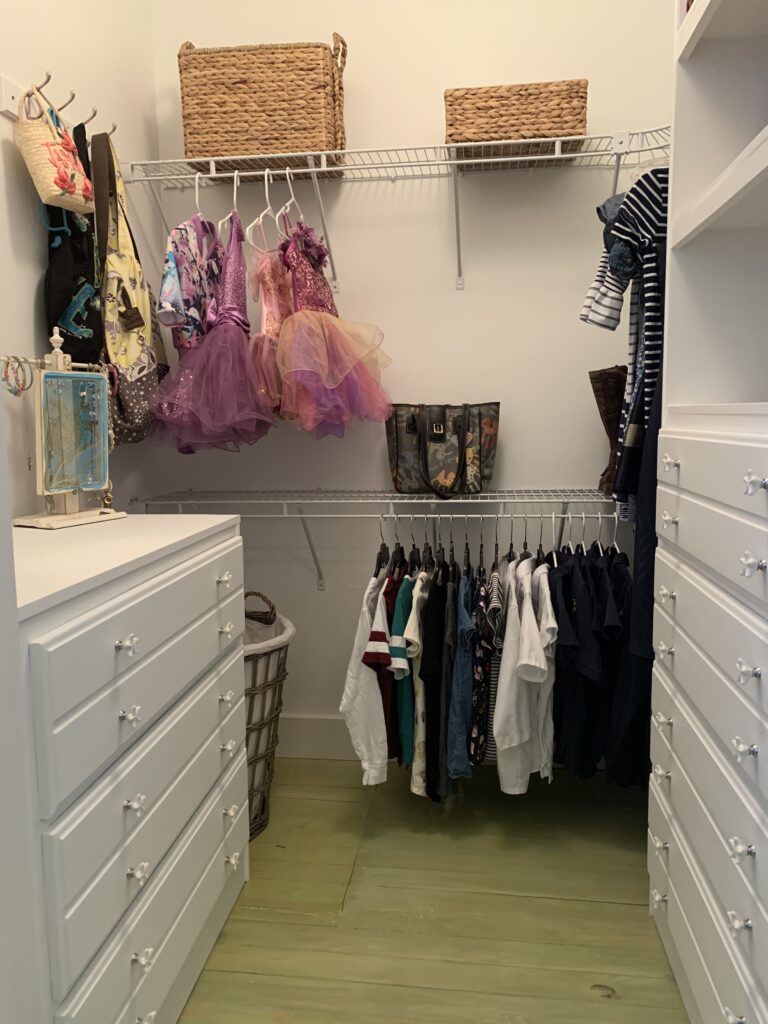
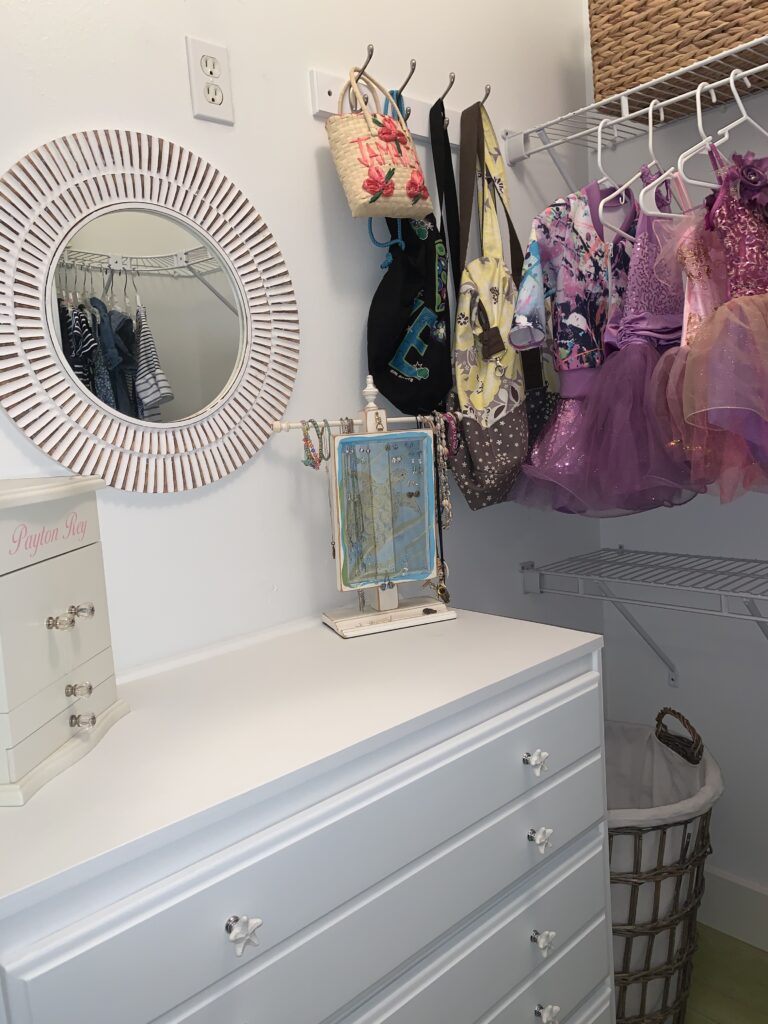
And so began the rebuild…I bought a single piece of 4′ x 8′ 3/4″ furniture-grade plywood (which Lowes cut into strips for me so I could get it in my mid-sized SUV), and some pine shelving. I used those items and some wood screws to essentially “box-in” the frame of the four-drawer dresser, add a set of shelves above it, and attach it to wall. I added some 1″x2″ strips to support the front and back of the shelves above the dresser.
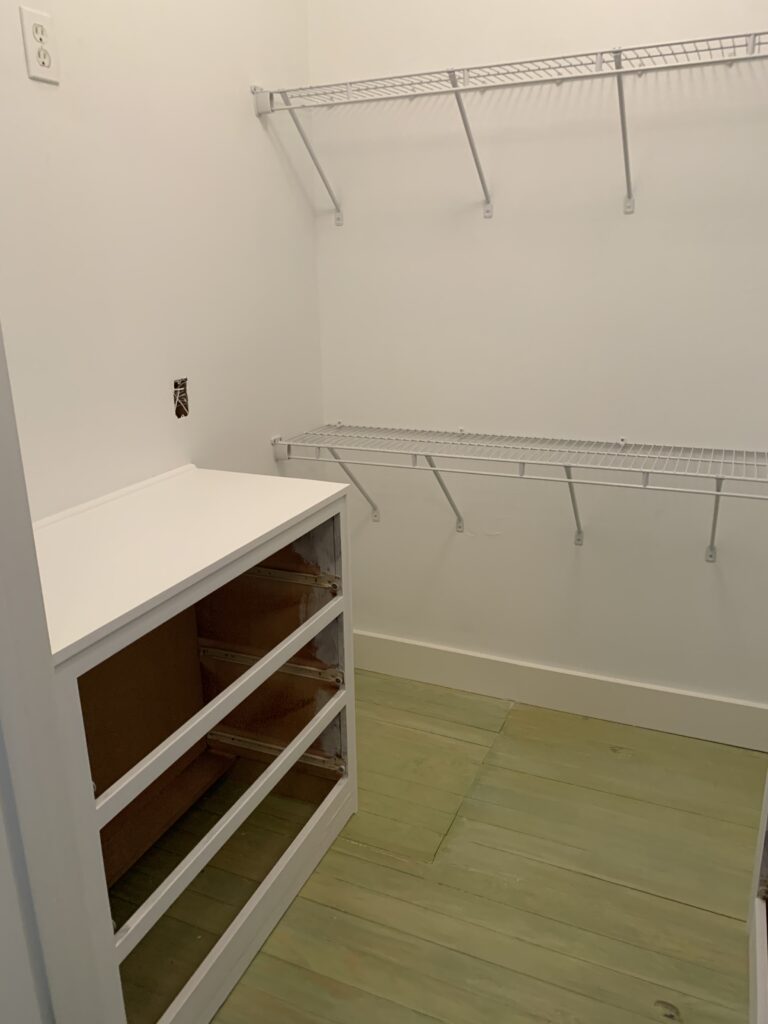
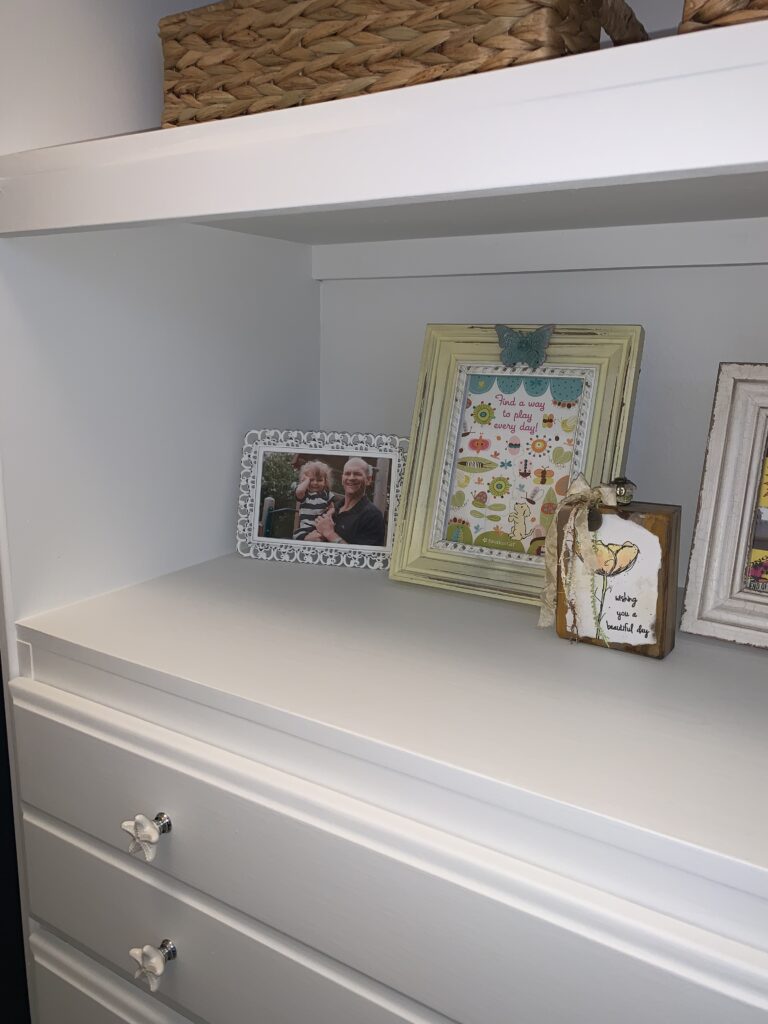
I did the same with the three-drawer dresser on the opposite side of the closet (photo below) but I didn’t add the shelves above that one. I also used inexpensive 3/4″ shelf-edging to finish the exposed edges of the plywood.
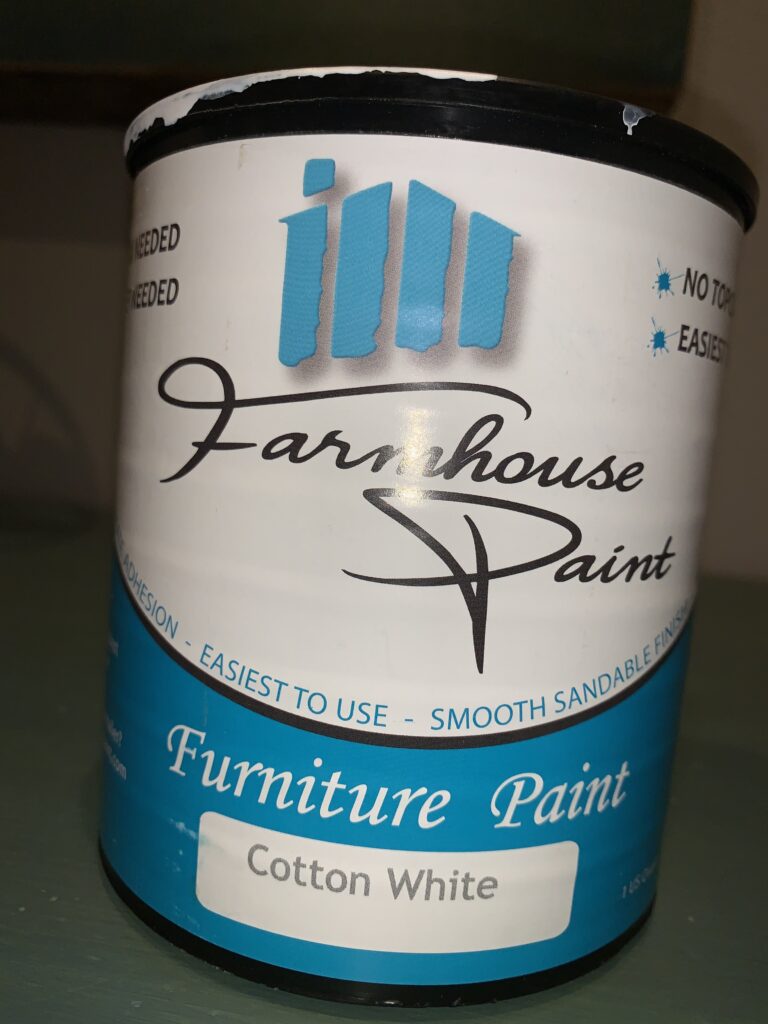
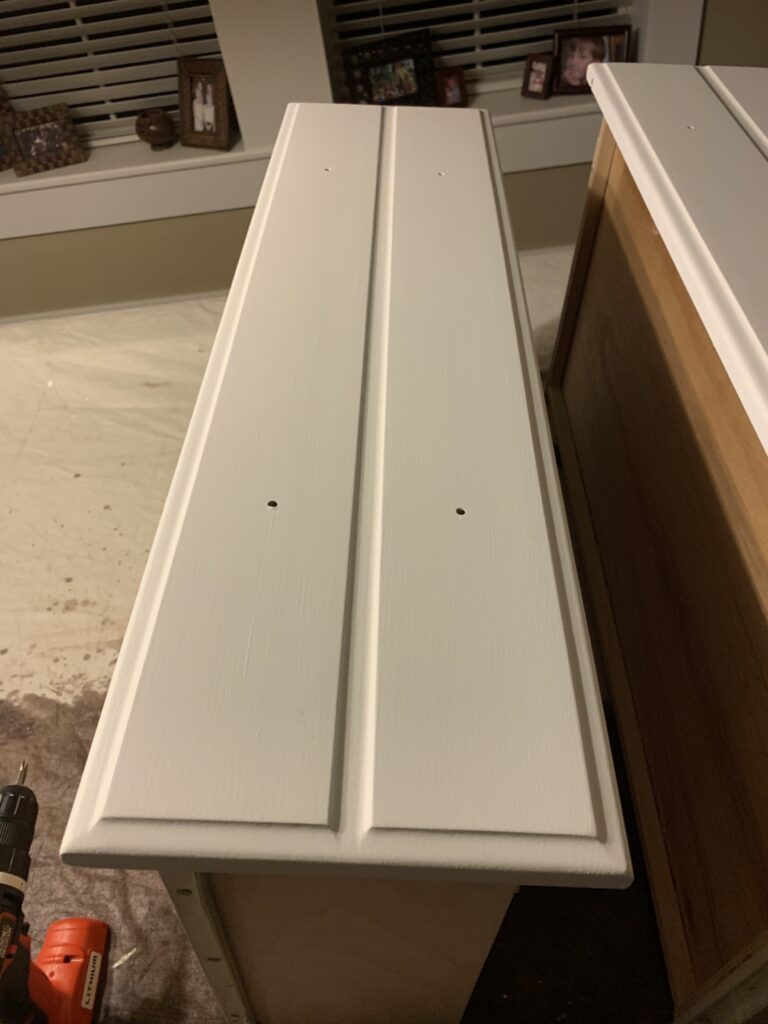
Next I had to prime, caulk, and paint it all. I found plenty of leftover white paint in my garage to put a fresh coat on the walls. I used old based paint over the raw wood. But let’s talk about the top coat of paint for the built-ins for a minute…If I’m going over an old finish (the exposed portions of the dresser boxes, plus 7 drawers) I absolutely, positively, ALWAYS use this Farmhouse Paint that I buy at Uptown Vintage Market in Melbourne. Check them out at www.uptownvintagemarket.com/ or, if you are outside the Melbourne area, look for a Farmhouse retailer near you www.farmhousepaint.com. This paint is easy to use, incredibly durable, and makes it easy to get the high-quality vintage look you are going for.
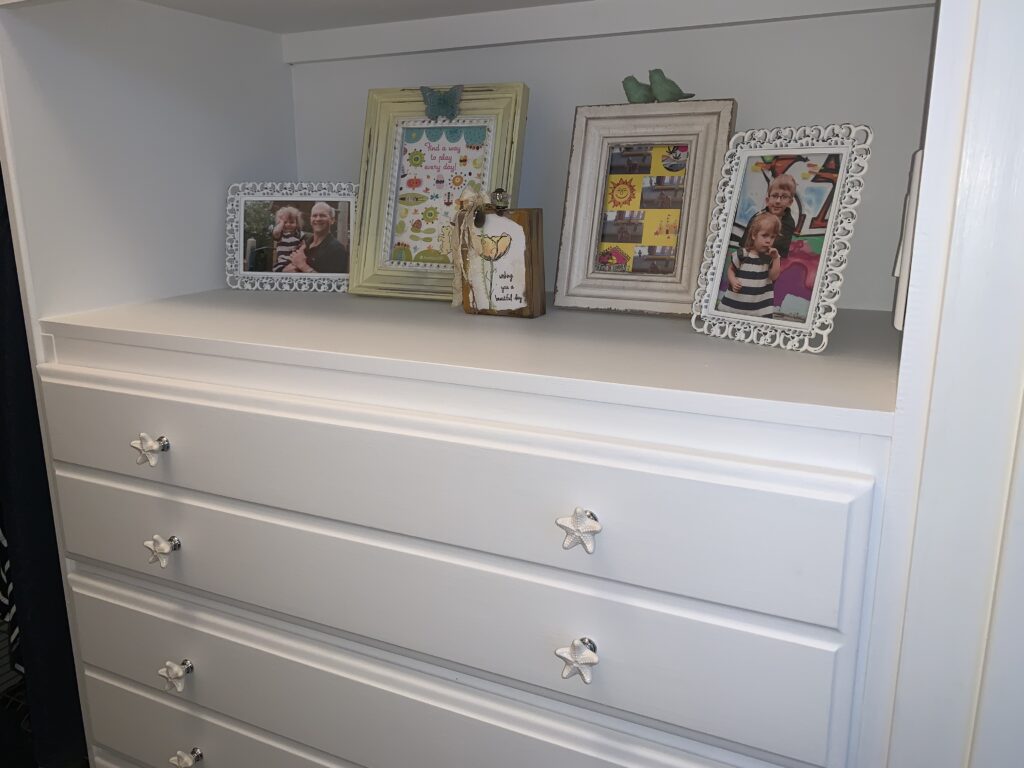
I found some fun cabinet pulls on Amazon for about $2.50 a piece. I needed 28 of them, and didn’t want to spend a fortune! I also bought a little more wire shelving, and the related support hardware, to finish the hanging space around the back side of the closet. And that was it…here is the finished product…
Budget
- Wood: $100
- Cabinet Pulls: $75
- Wire Shelving/Hardware: $30
- Paint: $40
Tips
- Before you attempt to sell old furniture like dressers and tables, look to see if there are elements you can reuse. You won’t get much selling them, so if you can re-purpose for another use it might save you some serious money.
- If you want closet built ins, look for old dressers or shelving on Facebook and Letgo that can be converted. If it’s in good shape and has good, simple bones, you can change the color, the knobs, etc. to save yourself time an money!
- Don’t be discouraged by odd shaped closets that seem dysfunctional…with a little creativity and some handiwork, you can make even small spaces highly effective.
