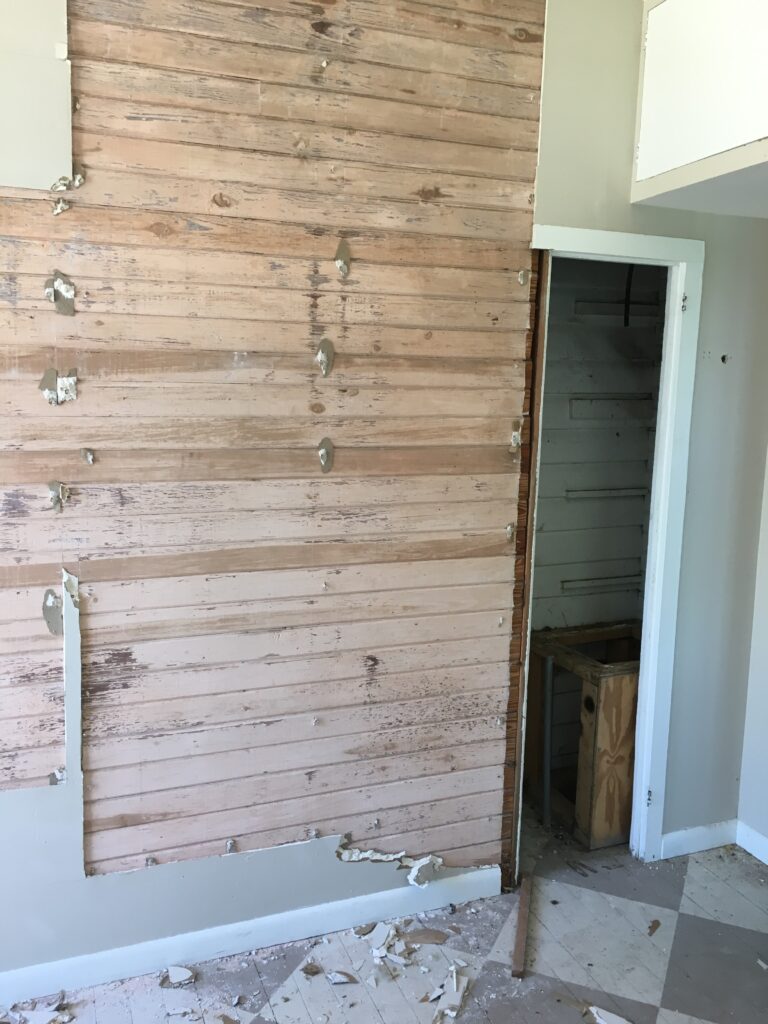
The day we discovered the 100 year-old pine v-groove walls behind the drywall was one of the best days of our renovation project. I didn’t know what I was going to do with them exactly, but I knew, without question, we were saving them!
We had spent months gutting the old cottage (affectionately named “The Love Shack” – long story) and had already salvaged about 1000 square feet of pine bead board from the living room, dining room and kitchen. There was so much of it I had started giving some away to local artist because we were tired of pulling out the nails.
The two bedrooms in the cottage had drywall walls and some old pressed board ceiling tiles, so we left those for the official demo crew to demolish. The demo crew knew how sentimental I was about the old house…so they were so excited to show me the old wood that was hiding behind the more modern materials that had covered them for half a century or more (probably an effort at insulation back in the day).
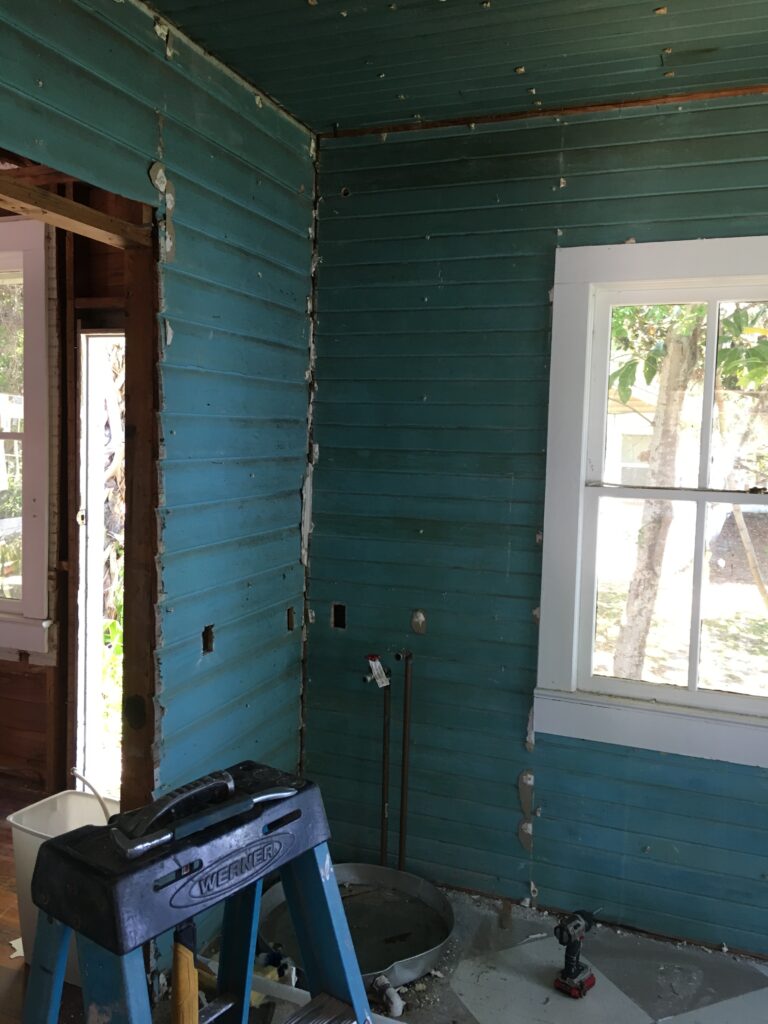
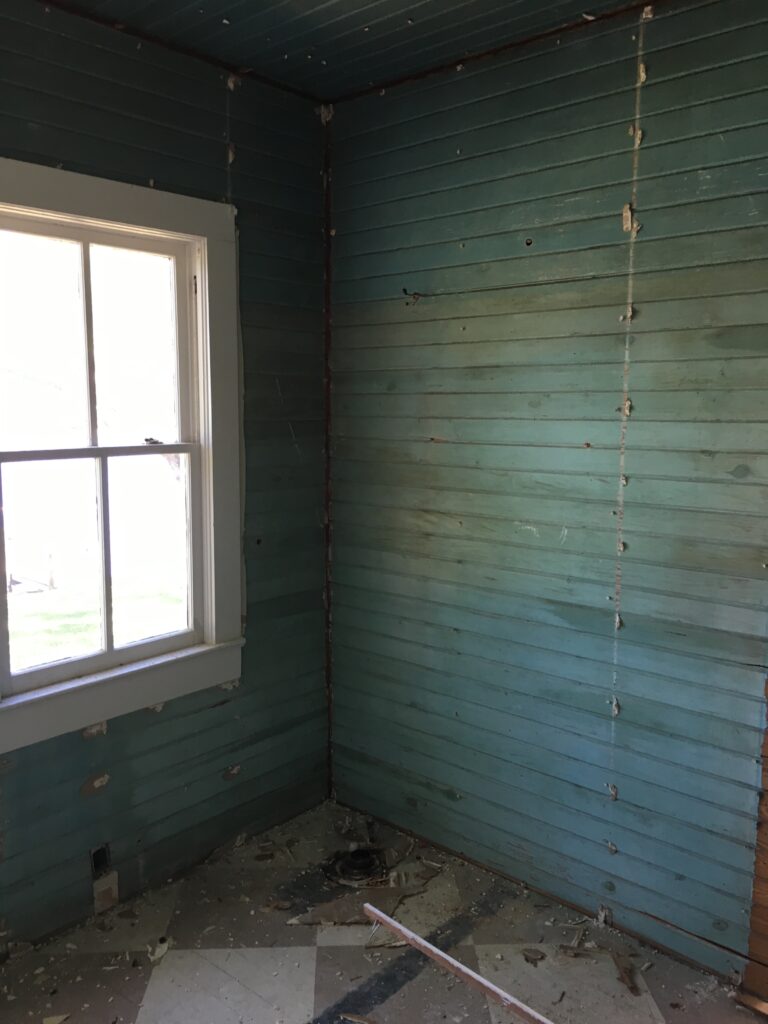
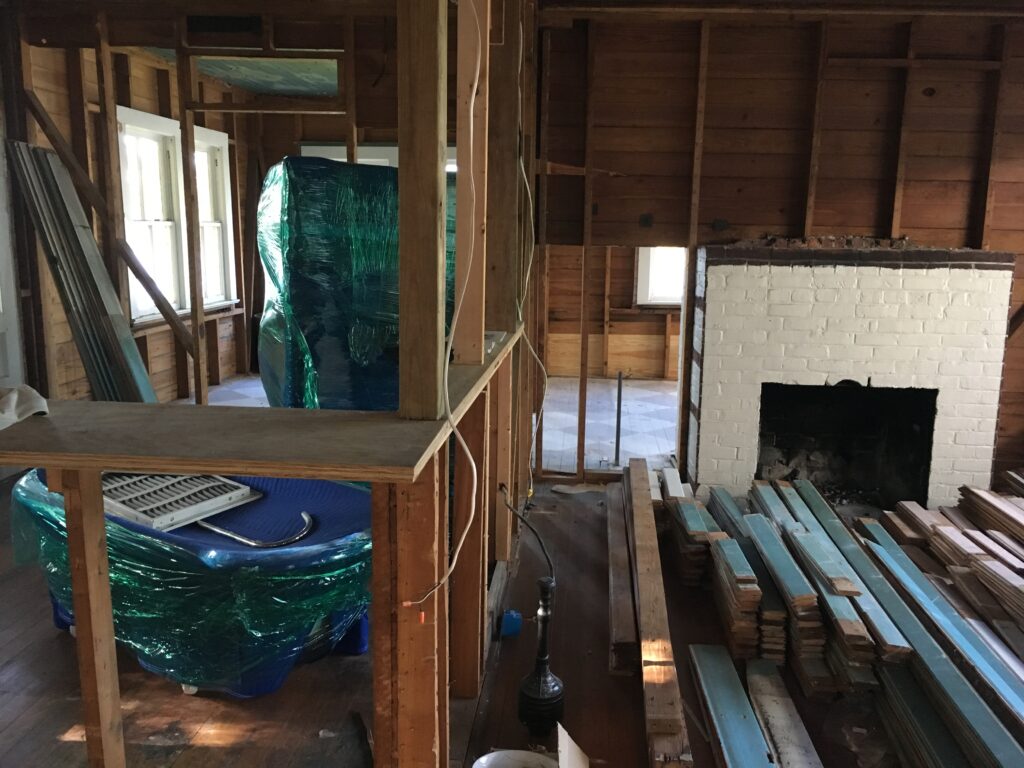
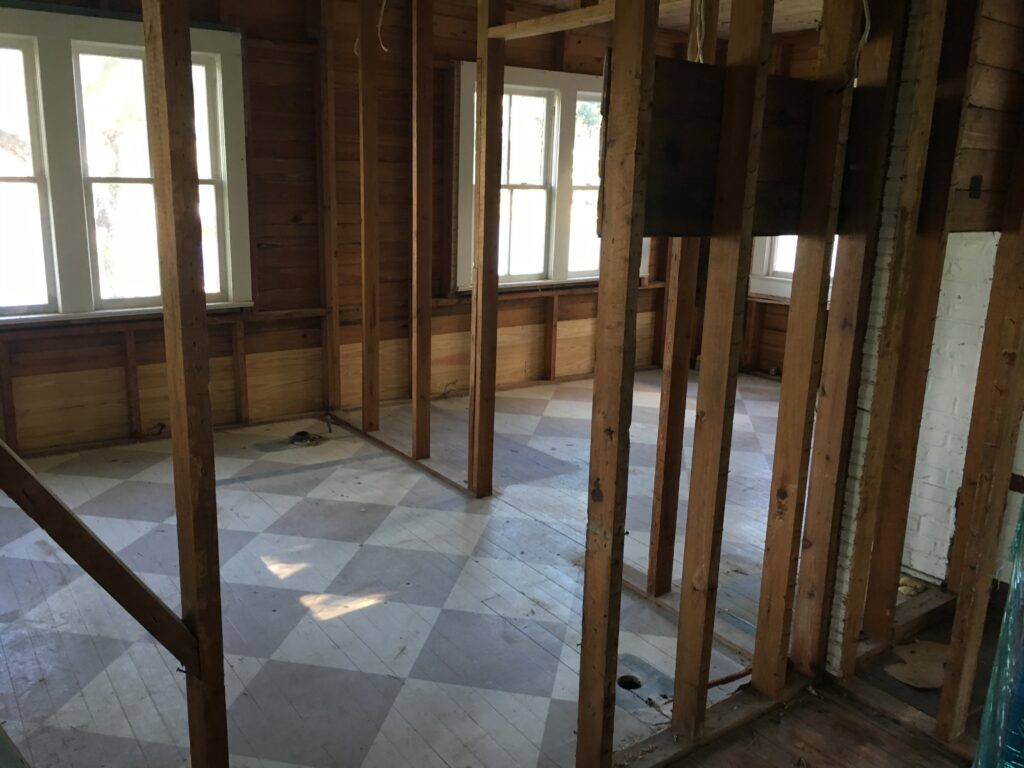
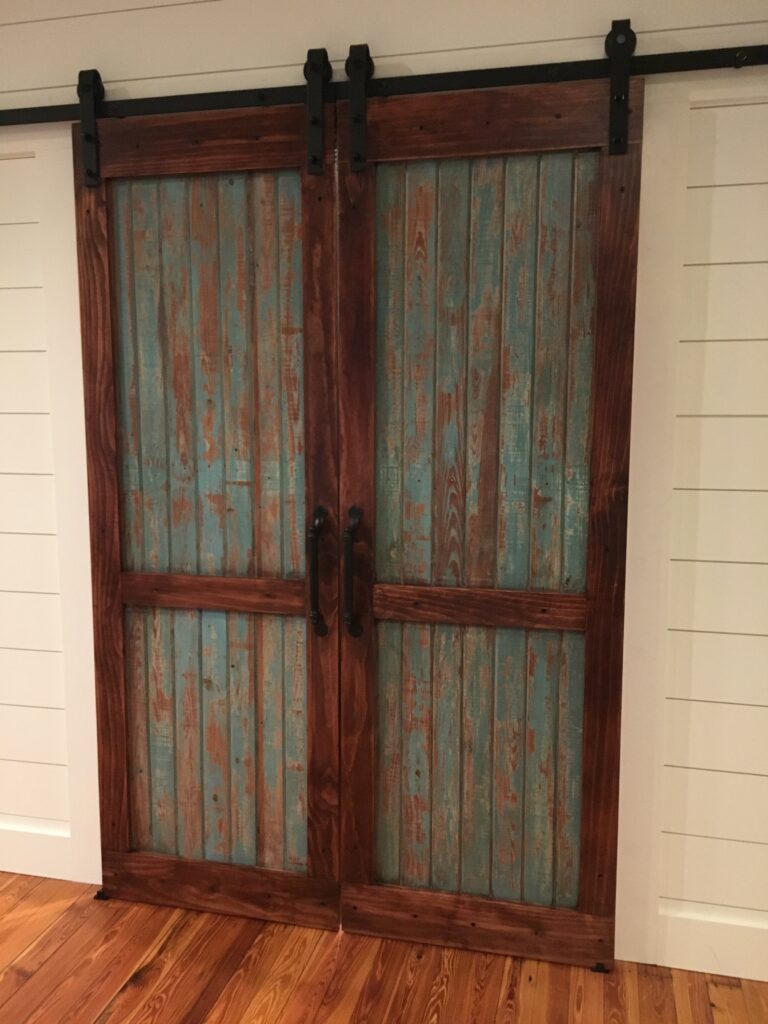
One of the bedrooms was peach, the other was the most gorgeous peacock blue I’ve ever seen. The demo crew pulled them out board by board, in almost perfect condition. We also had them save all the interior wall studs throughout the house. This gave us a stockpile of salvage wood that was a bit overwhelming. My Mother’s Day gift 2017 was a rack my husband built me in the garage to hold all the salvage wood. LOL
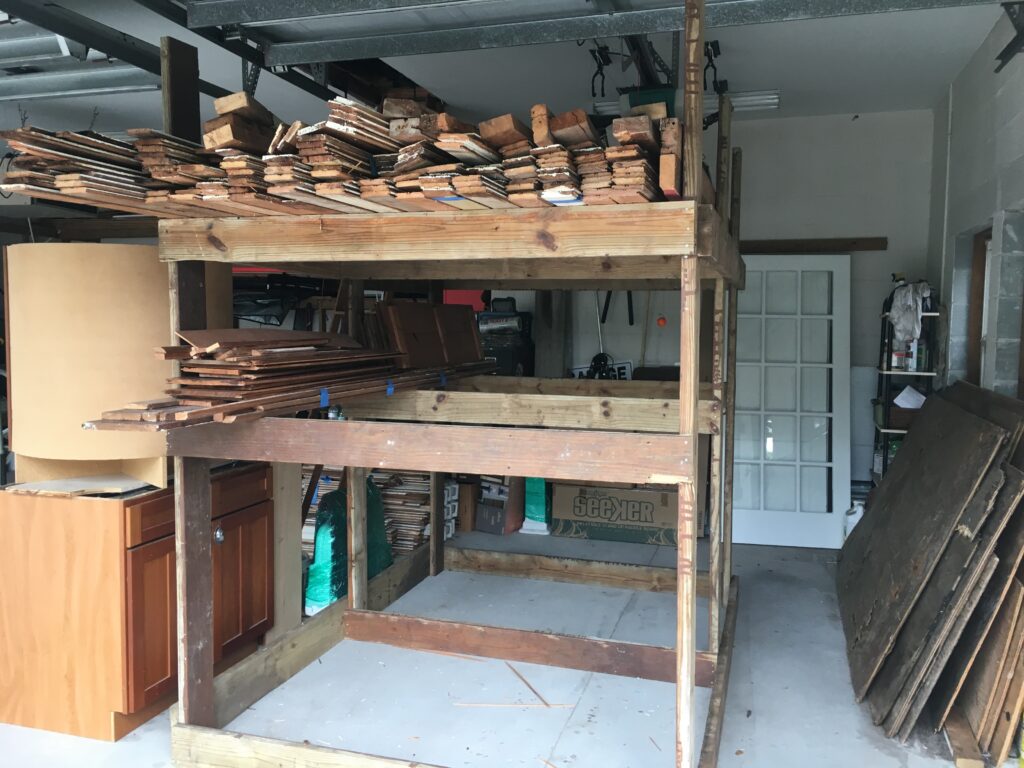
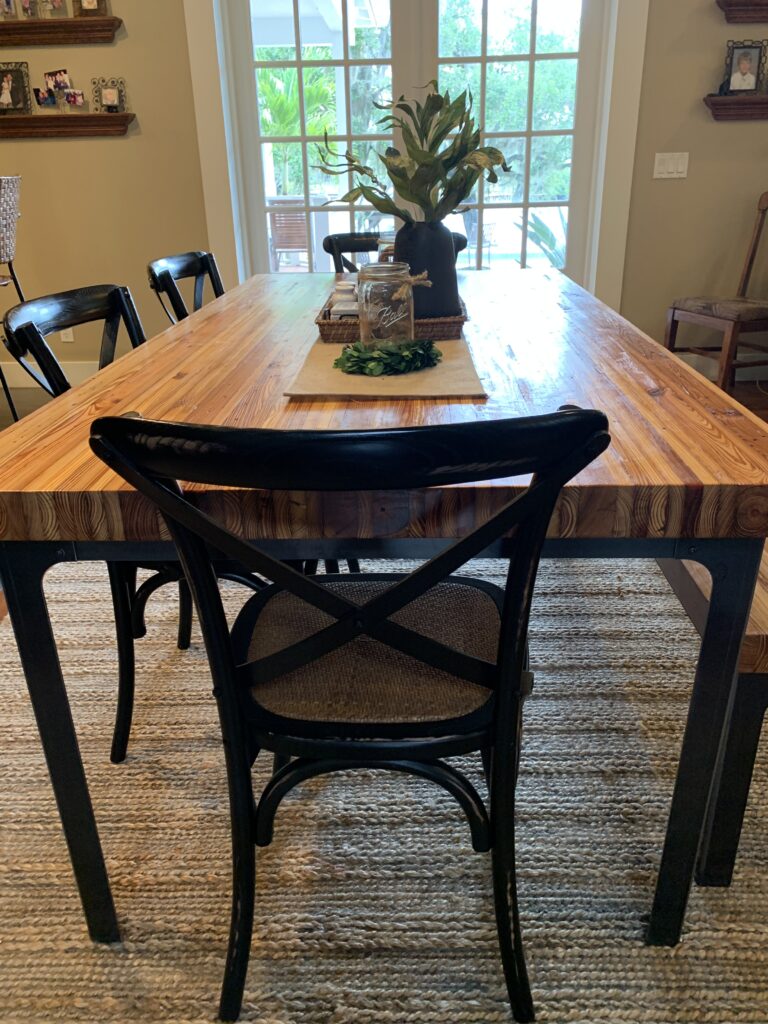
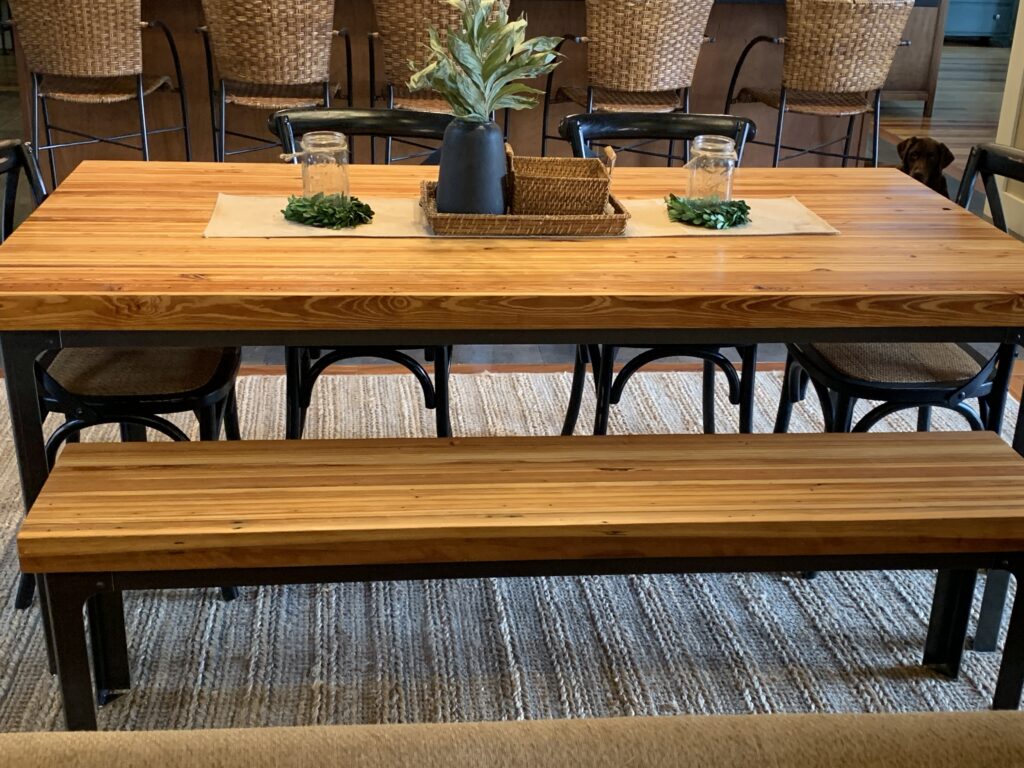
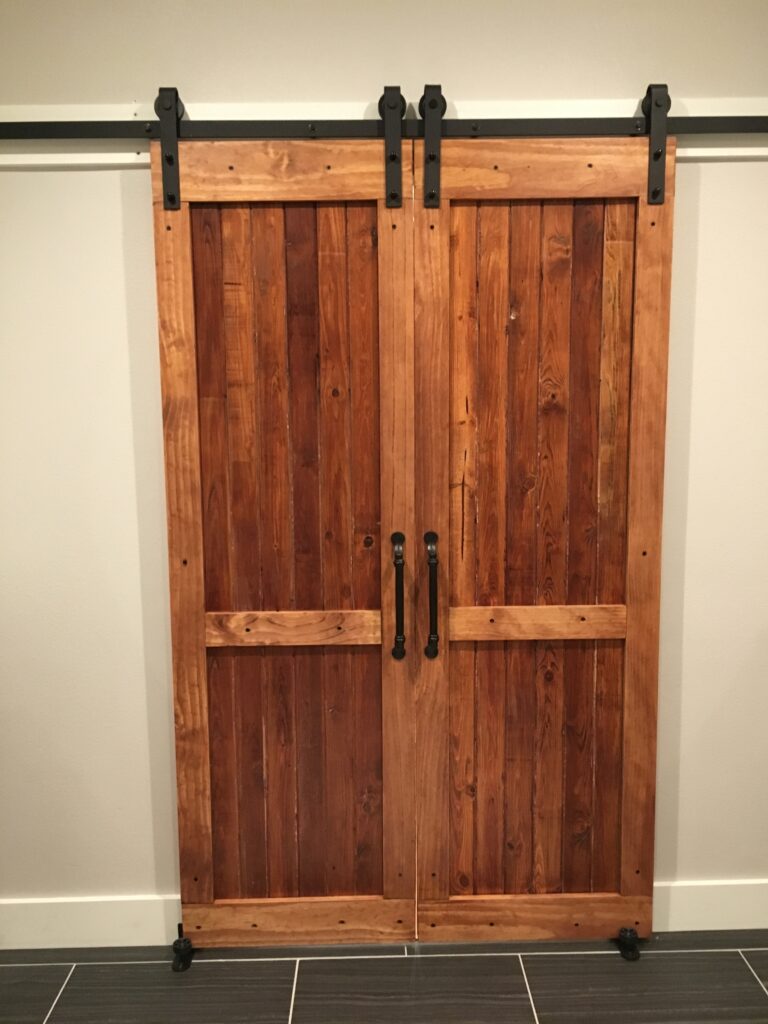
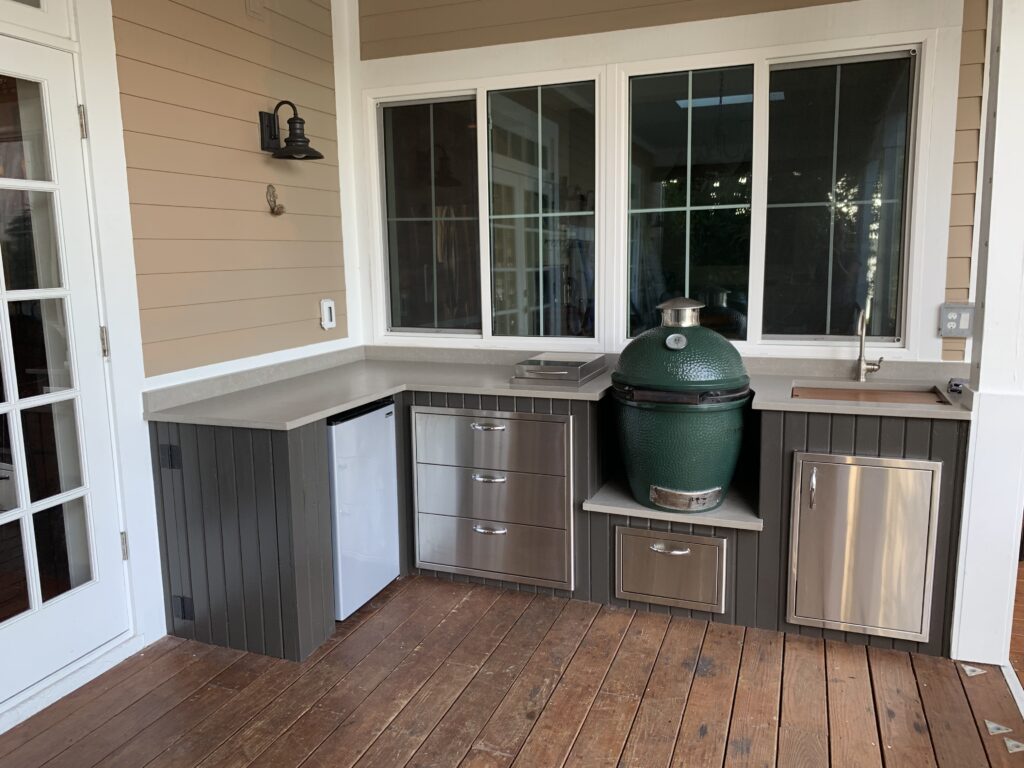
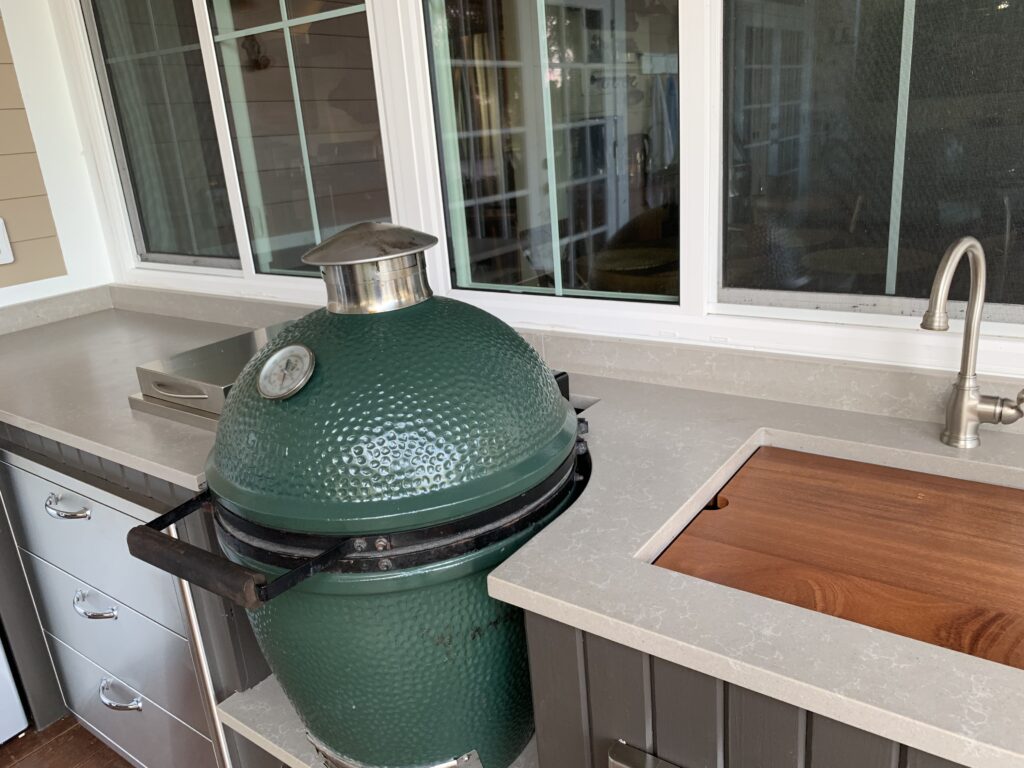
So fast-forward 2 1/2 years and I was still trying to use all the wood that had ultimately filled up this rack. We had built 6 barn doors and an outdoor kitchen and hadn’t put a dent in the pile of 3/4″ x 3 1/4″ V-groove. So I hatched an idea…a slab top for a new (old) dining room table.
But the idea was too big to tackle on our own. We have some skills, some good skills, and we have some good tools, but we didn’t have the skills or the tools needed for this…

It was time to bring in a professional, and there was only one person I would trust with this much of my precious salvage wood. Noah Hosburgh of Seranoa Artworks (http://www.serenoaartworks.com/index.html) had already done two amazing project for me on the renovation. He’s an artist and more importantly, he gets me…I can draw something on a napkin and he will build it exactly as I saw it in my mind.
When I told Noah what I wanted built, he was in, ”it’s always fun to see the beautiful or interesting wood that comes out from under an old finish, especially nasty old paint where you can’t see the wood at all.”
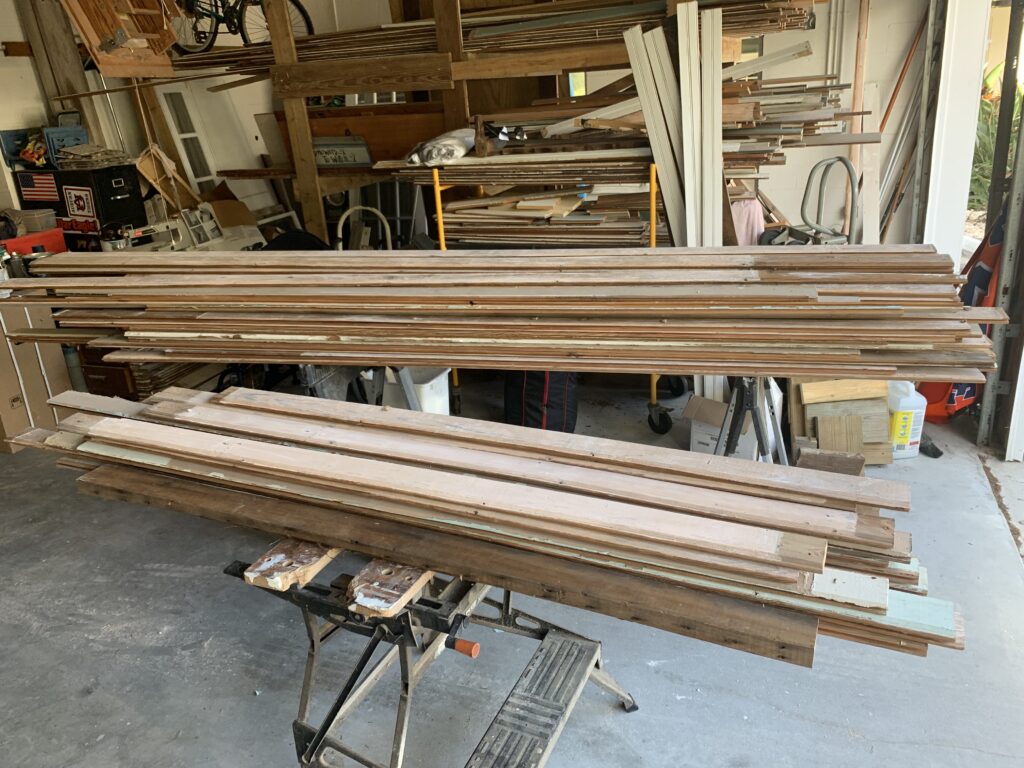
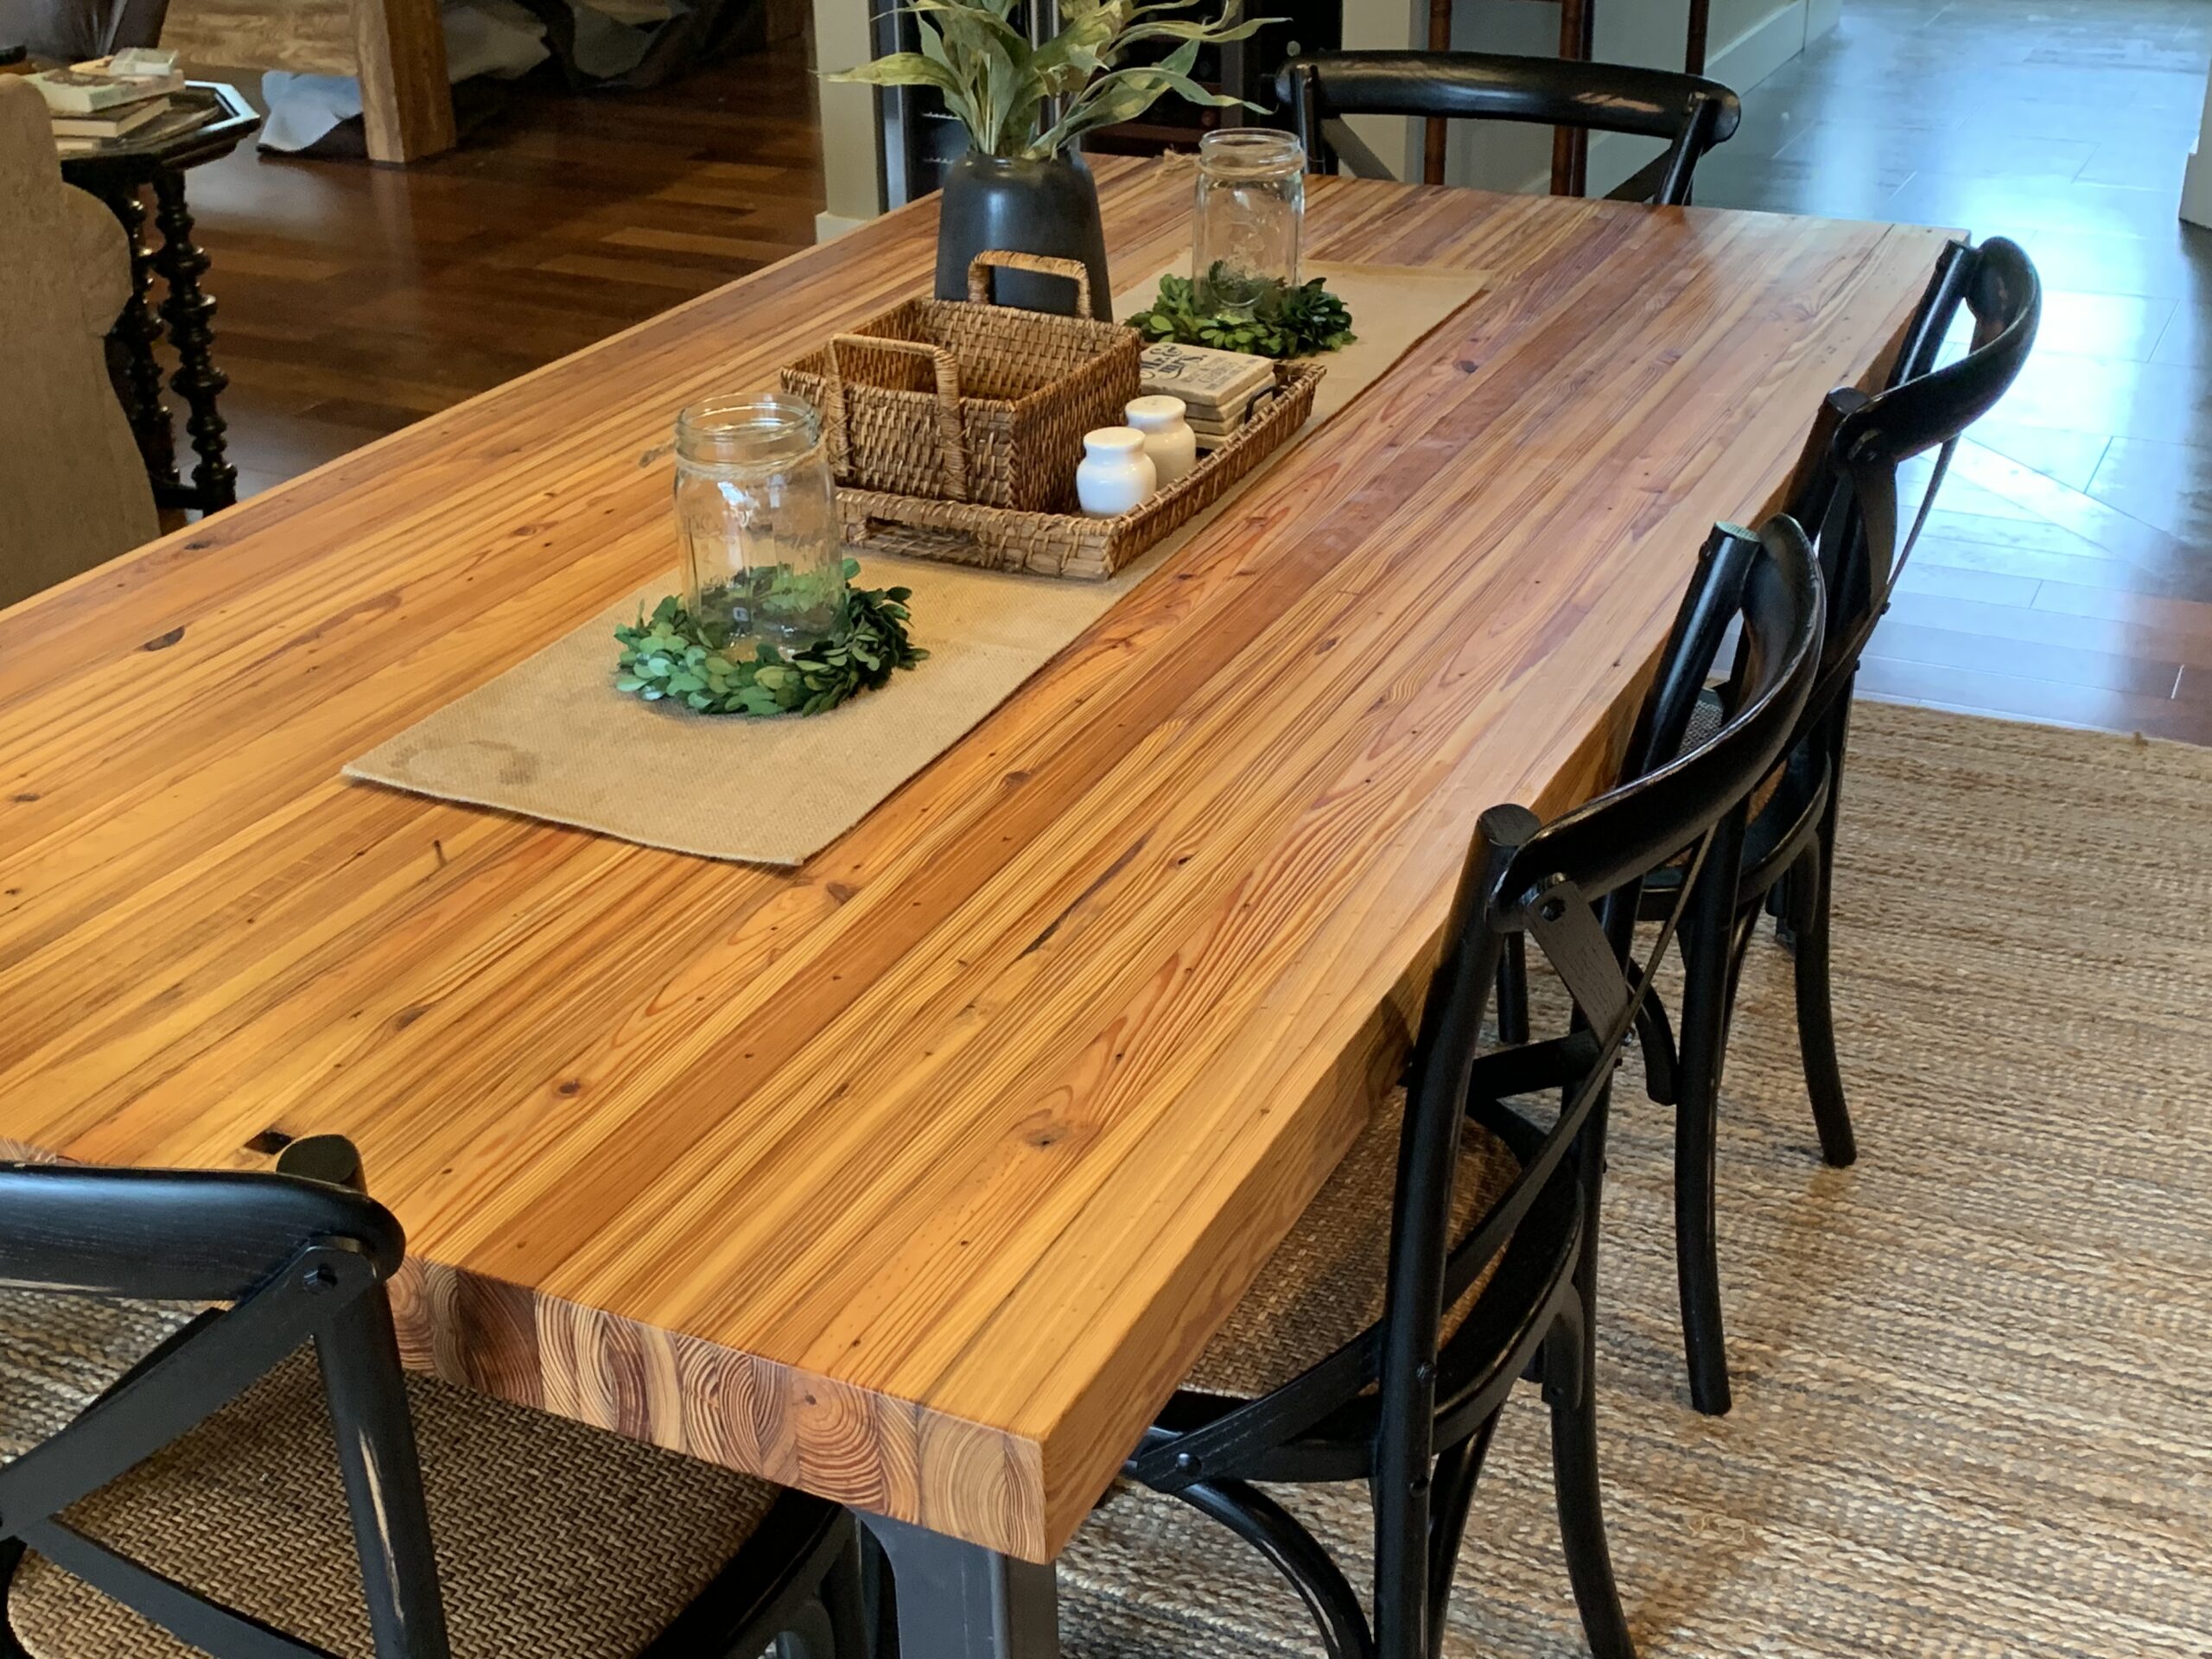
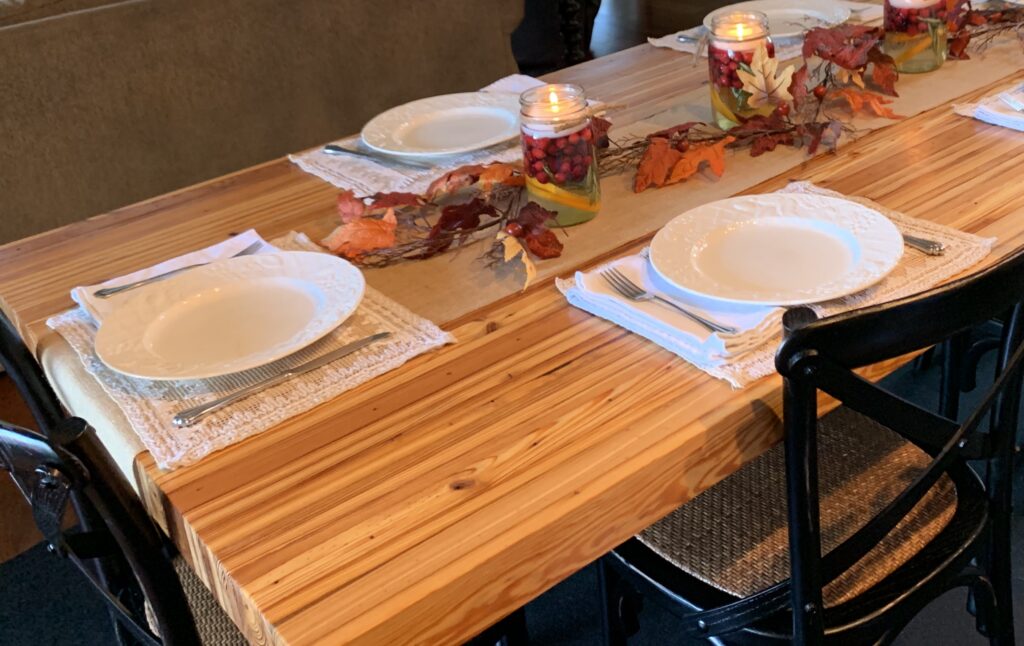
We pulled enough wood for the table top, plus a bench for one side. We selected pieces long enough so we wouldn’t have any seams. We also mixed in a few of the wall studs For added dimension. I told Noah I wanted the imperfections, like nail holes, to show.
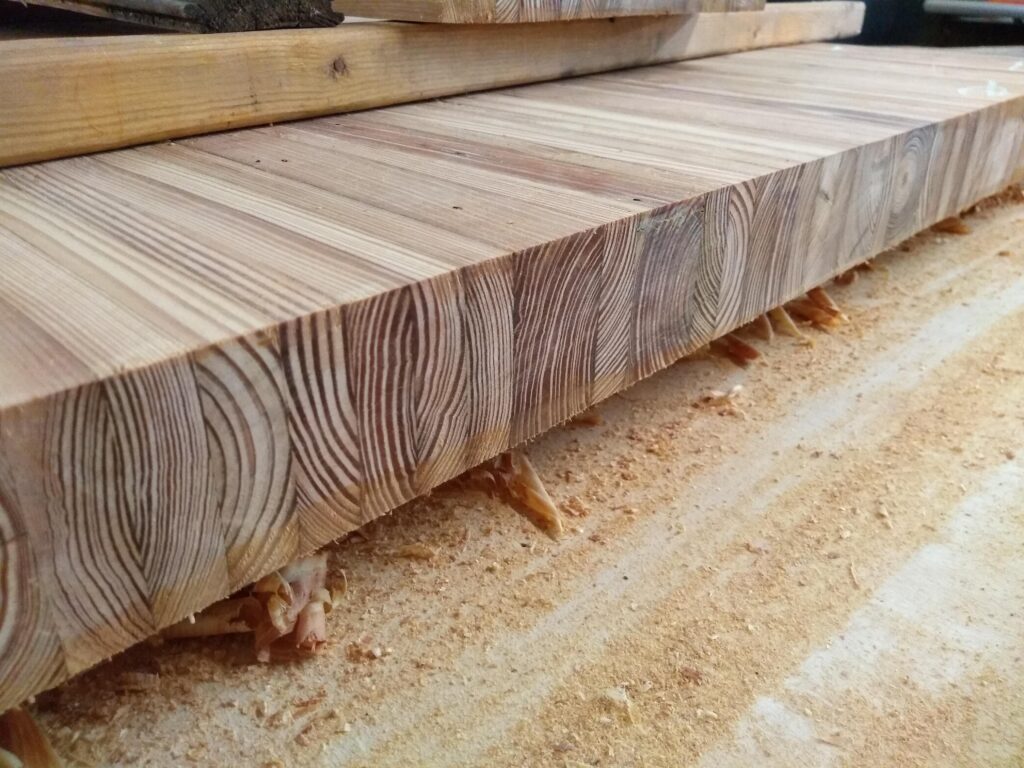
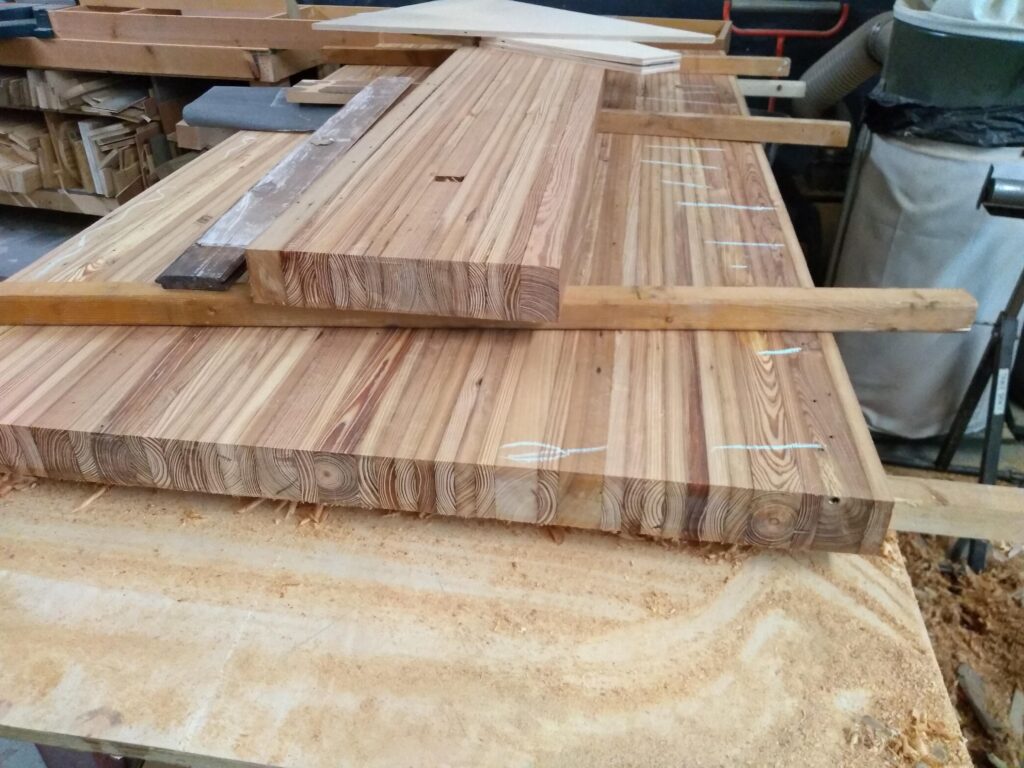
Noah picked them up and got started. “First, each piece of wood is skimmed in the thickness planer and boards that are unusable due to severe twists and such are removed from the mix. Boards with slight bows will have no problem clamping up straight. Next, boards were trued up on one edge and rip cut to remove the tongue and groove, then planed to create a good gluing surface.”
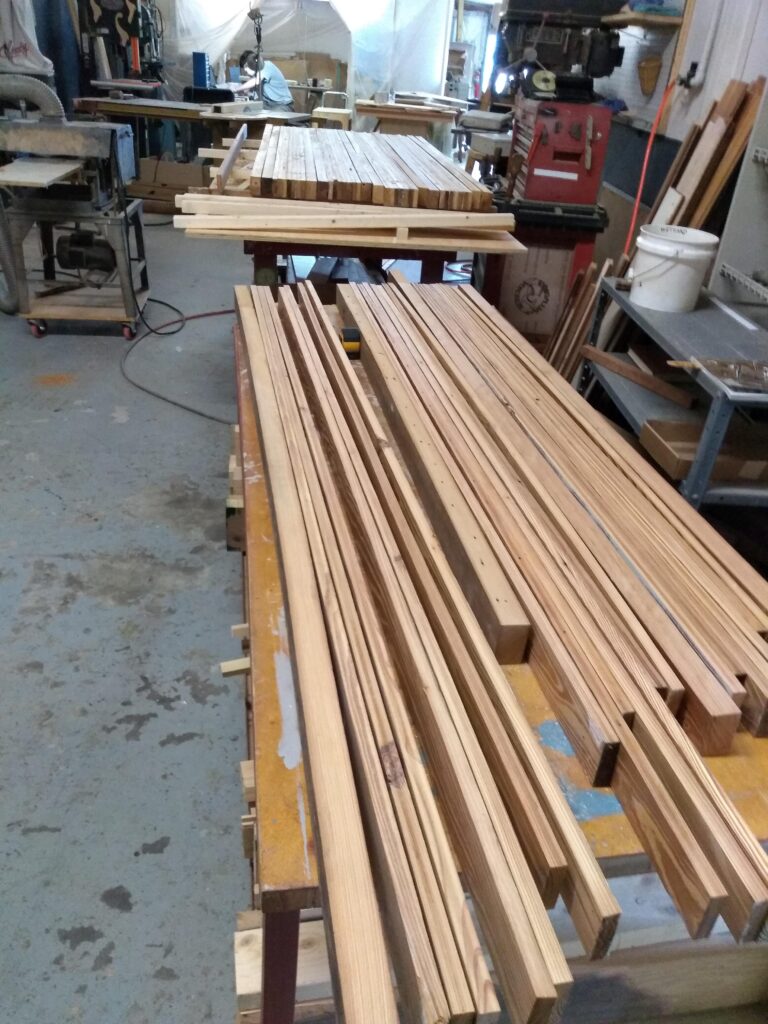
Noah recently shared his process with me, “I set up a balanced pattern of thinner and thicker boards, also paying attention to tonal value as well as character. To control the final flatness, smaller sections were glued together first so that those smaller slabs could be trued up before creating the entire slab. After this step any moving of the slab requires two or three people because it is heavy!
“I used a hand held electric planer to remove the highest spots, then various hand planes to work the surface down to the final plane. (This is my opportunity to get some cardio in, occasionally switching hands so that my body is not visibly lopsided ). I love finishing off a slab this way, with areas of slight grain tear-out. It really emphasizes that this is a real piece of wood and the subtle texture pairs perfectly with the existing aged nail holes.
“After crosscutting the ends it starts to look like a table slab.”
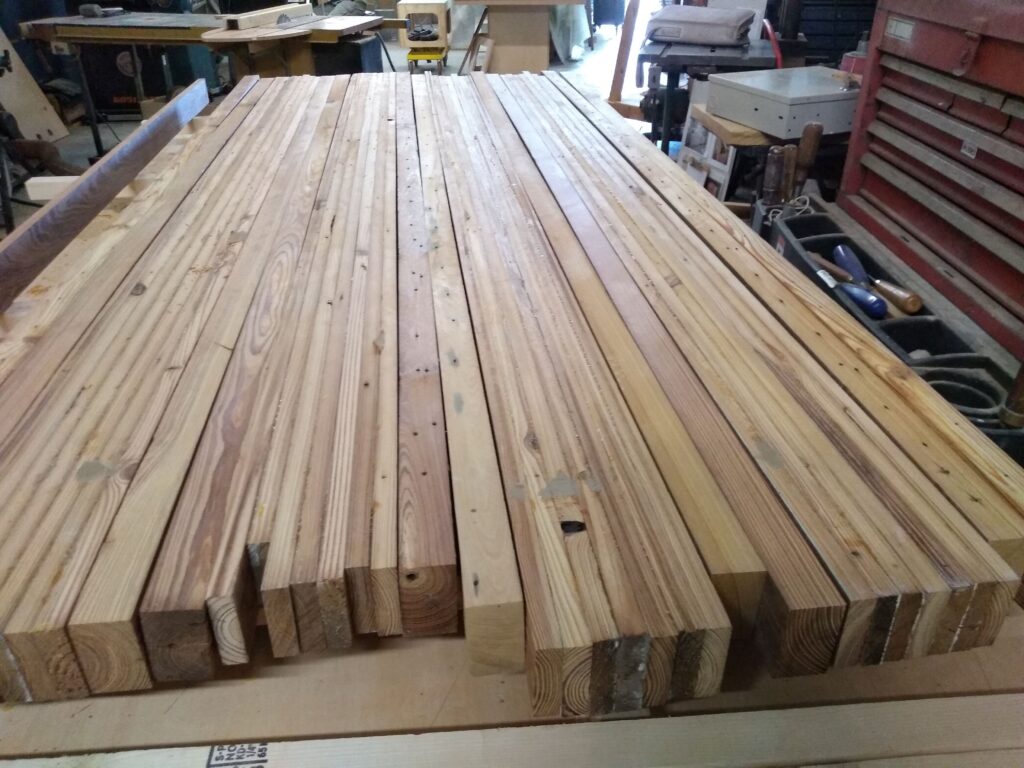
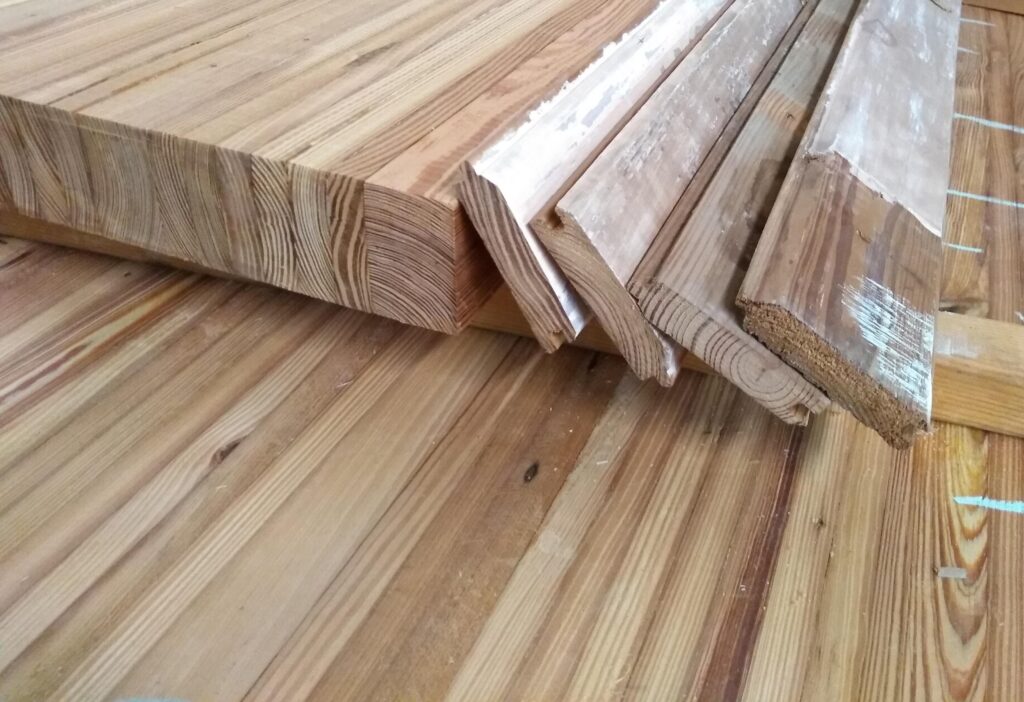
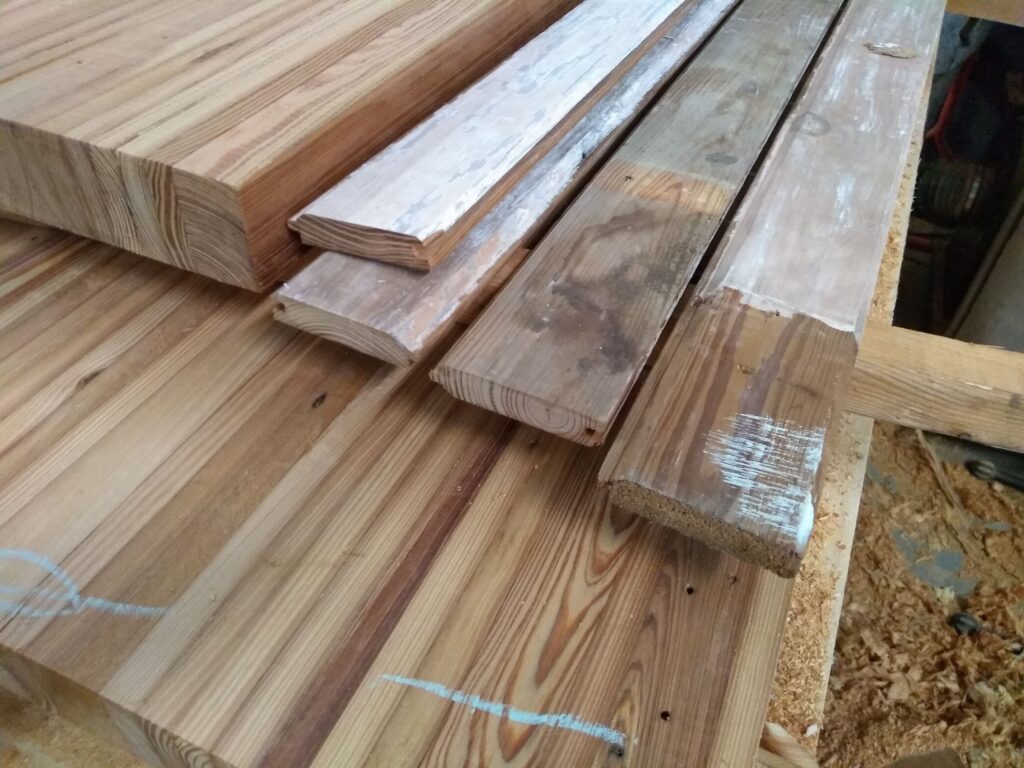
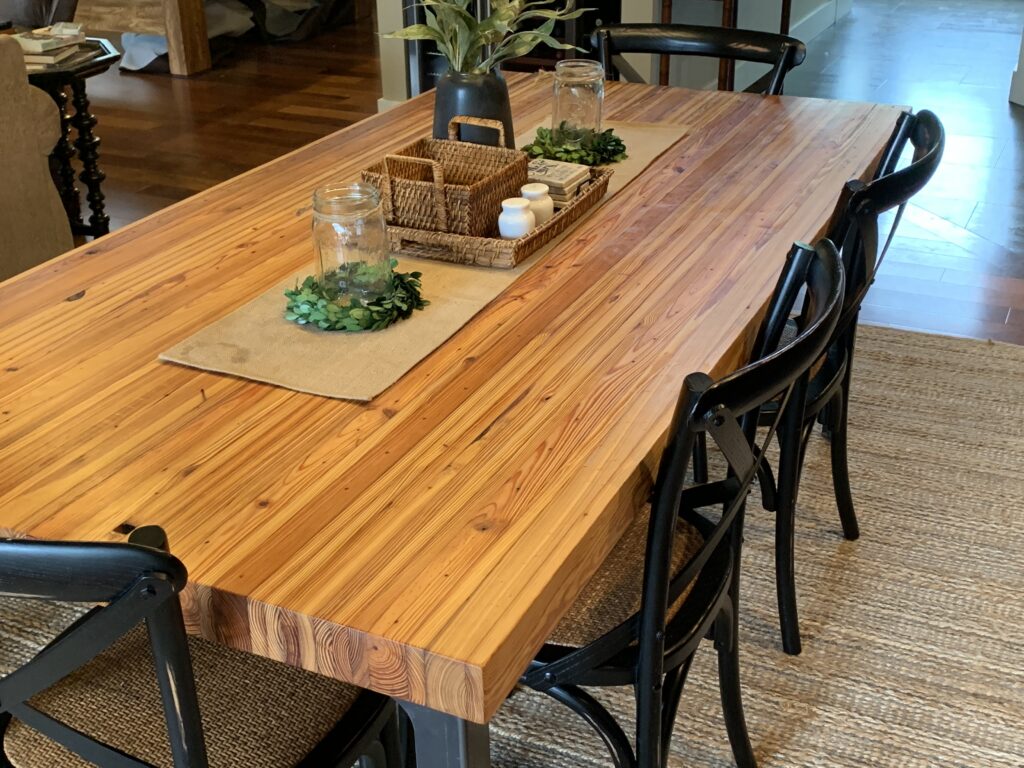
Once Noah delivered the table and bench slabs, we mounted them on top of industrial frames I had made by Bold MFG & Supply (www.boldmfg.com), who I found on Etsy. Then I coated the slabs with a few coats of satin polyurethane, sanding lightly between coats.
I paired them with some cross back dining chairs from Wayfair. I have the same chairs in walnut finish at the breakfast nook table and love them! I still want to find some black wicker arm chairs for the ends of the table, but so far I’ve had no luck.
We LOVE the new table and bench and everyone who sees it immediately takes notice of it’s unique beauty. Now, if I can only come up with an equally brilliant plan to use the hundreds of square feet of bead board we still have stacked in the garage!
